How To Use Voice Changer For Discord
Although modding discord may seem like a difficult task, adding a voice changer to your voice communication on the platform is easier than you may think. All it takes is downloading a program. Once you have this program installed (which we’ll cover), then all you need to do is set it up and utilize it. All this will be covered here. We’ll be discussing how to use a program called Voicemod. This program appears to be the easiest to install and utilize, although not all the features are free to use. First, let’s go over how to install the program.
Installing Voicemod
Voicemod is just one of many voice modification tools out there, however, this one seems to be the cleanest. To start off, let’s visit the site to start the download.
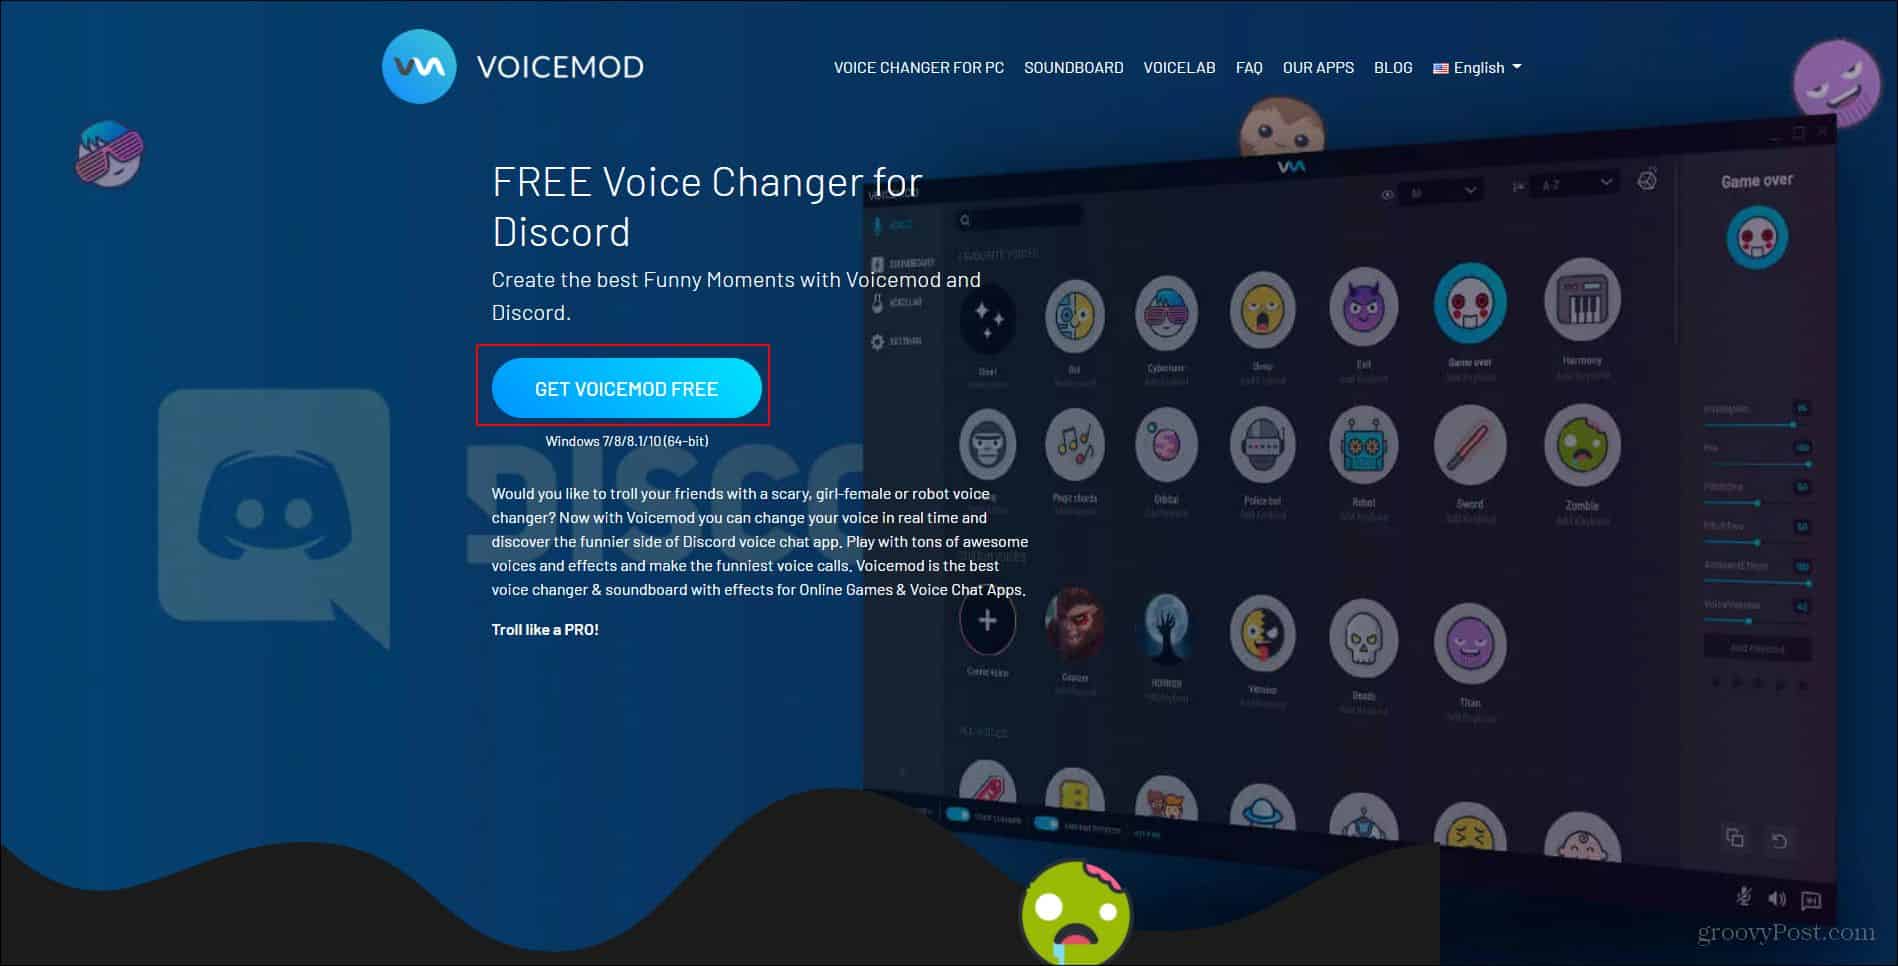
Here you’ll start off by clicking the Get Voicemod Here button. When you click there you’ll be asked to either login to your Discord, Google, or Twitch account. Since we’re using Voicemod for Discord I just logged into my Discord account (although I don’t believe it matters what account you use to login).

Once you’re logged in, the .exe will download to your downloads folder. You can either open the file location where it’s at, or double click the .exe where it appears in your browser.

This will finally open up the install wizard. You’ll just need to navigate through this wizard to install the program. Once the install is done, the program will ask you to either restart your computer there automatically or have you manually restart your computer later.

Once you’ve restarted your computer, you should be able to look up Voicemod and find the shortcut to start it. Either that or there will be a desktop or taskbar shortcut that allows you to easily locate the program.
Using Voicemod
Once you’ve restarted your computer, there should be an icon on your desktop for you to click that will open the program. If there isn’t, just click the Windows icon at the bottom left of your screen and type in Voicemod. The program should show up there. To open the program, just double click the icon. When the program opens you’ll need to select the input and output that it’ll be using. The output is so you can hear what each filter sounds like with your voice.
Now that that’s done, you can mess around with the filters! Each day you get a new set of free filters, however, you can unlock all of the filters by getting the pro version of Voicemod. The basic version is good if you just want to mess around with your friends and use some filters. You can also unlock an extra free filter by sharing about Voicemod on social media.

Now, to set voice mod up with discord, you’ll want to first open up discord and locate your settings which should be on the bottom left corner (it’ll look like a gear). Once you click that, you’ll want to locate where it says “Voice & Video”

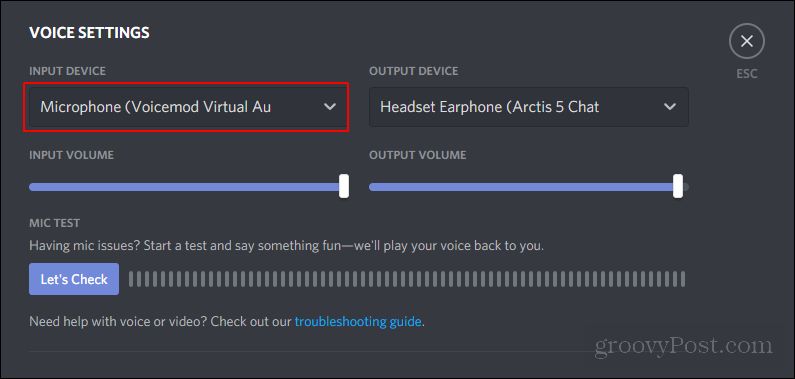
To make the Voicemod program usable, you’ll need to change the input to be the Voicemod program. It should say “Microphone(Voicemod Virtual Audio)”.
Once you have that set, you’ll be able to change your voice using the program, and others will be able to hear the audio alteration. With the basic program, you’ll only have 7 free voice options that’ll change every 24 hours. With Pro, you’ll have access to 80+ different voices. If you’re looking to use a voice changing program a lot, I would highly recommend investing in this program. It’s incredibly simple to use and requires very little effort to set up.
Conclusion
There are many things you can do with a voice changer program. Not only is it useful, but it’s fun to use as well. It can be utilized in a YouTube video, or just to mess around with your friends. There are a lot of different reasons why you may want to use a voice changer. With this program, I’d highly recommend investing in the pro version of the program. It’s relatively inexpensive and gives you access to a large library of different voices. Just always remember to have fun with what you’re doing!