How to Use the Slide Master in PowerPoint

Do you want to be able to use the same look through all of your PowerPoint slides? Edit the Slide Master to do it. Here’s how.
Giving a long presentation? You’ll want to impress, and Microsoft PowerPoint will give you the tools to do so.
The problem is, it’s very easy to make a PowerPoint presentation that looks the same as every other. Changing the look and style of your slides can give your PowerPoint more visual appeal, but editing each slide in turn is a laborious process.
The good news is that it’s possible to create a Slide Master so that every slide you insert has the same look, but still impresses your audience. Here’s how to use the Slide Master in PowerPoint.
How to Edit the Slide Master in PowerPoint
Editing the Slide Master in PowerPoint allows you to create a uniform style for all the slides that you create.
You need to edit the Slide Master before you create your slides, as any slides created before you edit the Slide Master will keep their original formatting.
To edit the Slide Master in PowerPoint:
- Open your PowerPoint document.
- Click on View then Slide Master.

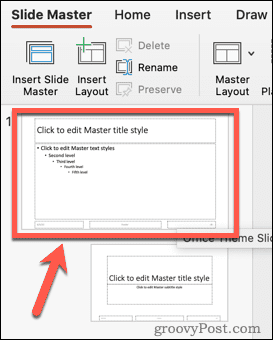
- Click on the very top thumbnail in the Slide This is the Slide Master, with the thumbnails beneath showing the various layout options.

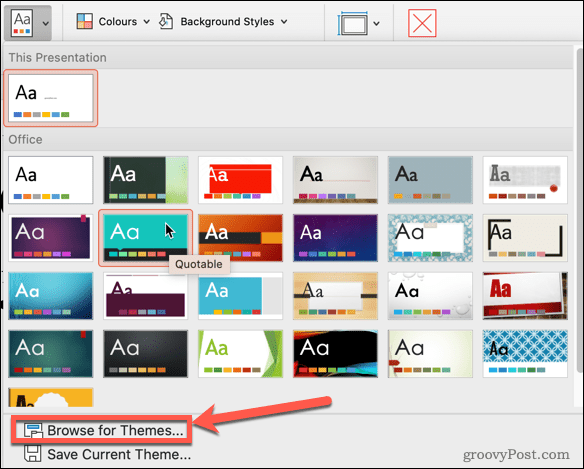
- Make your changes to the Slide Master. The simplest way to update the look of the Slide Master is to click on Themes.

- Select one of the preset themes or click on Browse for Themes if you have saved some themes from elsewhere.

- The layout options thumbnails beneath the Slide Master will update to show your new theme.
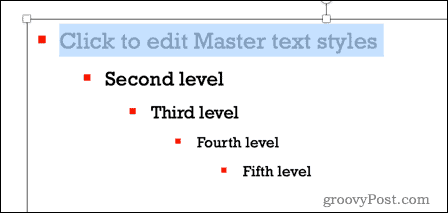
- Click on the Slide Master thumbnail and highlight some text if you want to change the text styles.

- Under the Home menu you can change the font, font size, font color, and more. These changes will apply to all the layout options in the Slide pane.

- You can also edit individual layouts by clicking on their thumbnails if you want a particular layout to have different formatting from the Slide Master.
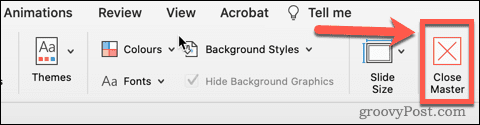
- Once you are happy with your changes, in the Slide Master view, click on Close Master.

- Your Slide Master is now updated.


How to Use the Slide Master in PowerPoint
Now that you have edited your Slide Master, it’s time to use it to create some slides for your presentation.
To use the Slide Master in PowerPoint:
- In the Home menu, click on New Slide.

- Choose from one of the layout options.

- Your slide will have the formatting and theme that you set up for your Slide Master.


You can edit the Slide Master as many times as you wish. However, any slides that you have added to your presentation before making changes will keep their original formatting. You’ll need to create these slides again if you want them to have the updated Slide Master formatting.
Use PowerPoint with Style
Learning how to use the Slide Master in PowerPoint can help your presentations to stand out from the crowd.
Once you’ve created a PowerPoint you’re proud of, you can import and reuse PowerPoint slides in other presentations. If it turns out you regret that decision to use Comic Sans, you can quickly change the font on all slides in PowerPoint.
If you want to make your presentation sound great as well as look great, it’s simple to add audio to a PowerPoint presentation.


