How to Use Menu Bar Dividers on Your Mac and Get Better Organized

With menu bar dividers, you can add a new level of organization to your Mac. The best tool available is also available for free.
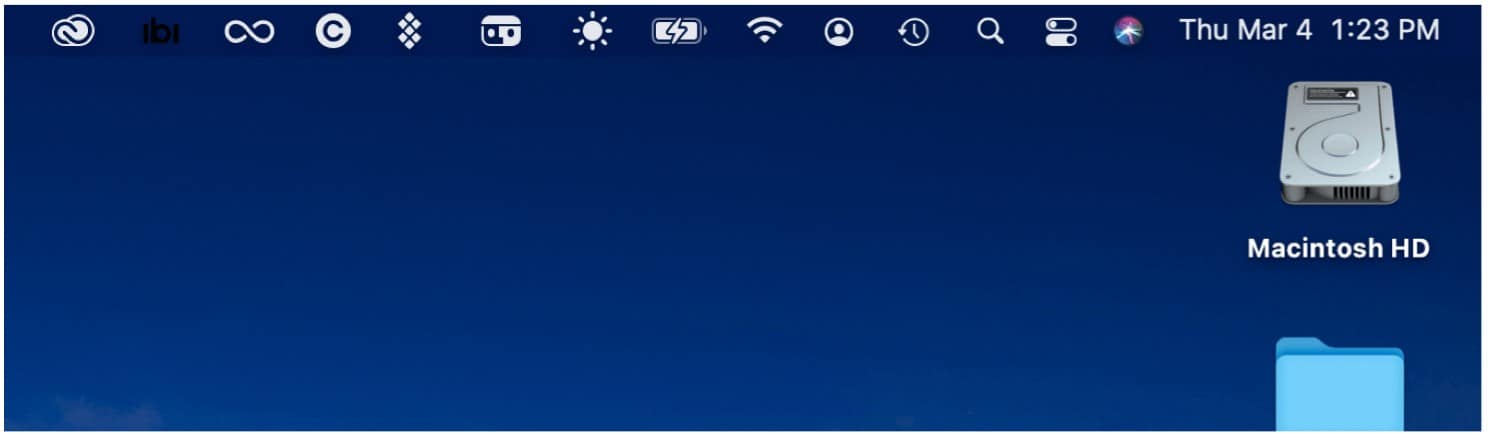
The Mac menu bar keeps getting more useful as new tools get added. Unfortunately, it can fill up very quickly, depending on the number of installed apps on your computer. It’s because of this you might want to consider adding menu bar dividers to add some much-needed organization to your workspace.
Found at the top of every Mac, the menu bar is where you can find controls for third-party apps and also new tools that often get added with a new software update. For example, in macOS Big Sur, Apple added the all-new Control Center, where you can better access controls for things like Wi-Fi and Bluetooth. The same update added a redesigned Notification Center. The menu bar is also where you can find music controls, battery options, and so much more.
Menu Bar Dividers: Solutions
To add some order to the menu bar, you should install a third-party solution called Menu Bar Splitter. Best of all, it’s a free solution.
Menu Bar Splitter
Open-source Menu Bar Splitter lets you add as many dividers as you would like, offering a no-nonsense way to organize your icons. From there, you can add “faces” to the bar for added customization.
To add Menu Bar Splitter:
- Click on this link to visit the app’s online page.
- Select the link that says, “Click here to download” to download the app to your computer.
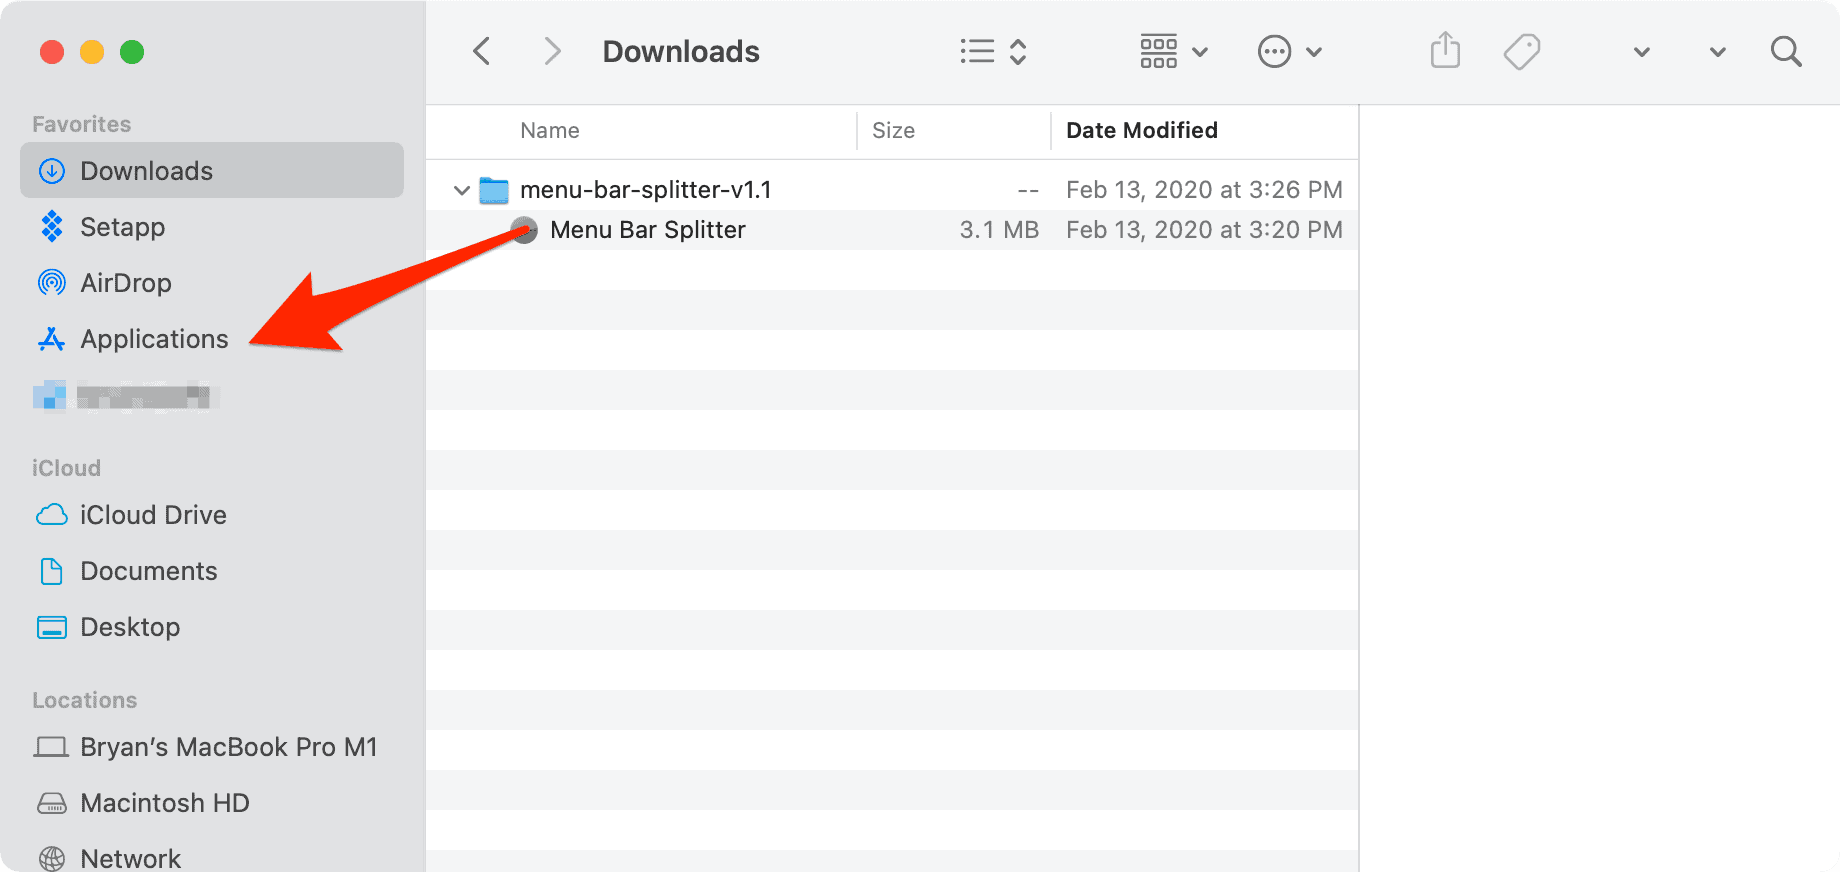
- Go to the location on your computer where downloaded files are kept.
- Find the unzipped folder named Menu Splitter.
- Open the folder, drilling down until you see the app, Menu Splitter.
- Move the app Menu Splitter to your Applications folder.
Next, open the Menu Bar Splitter app from your Applications folder.
Using Menu Splitter
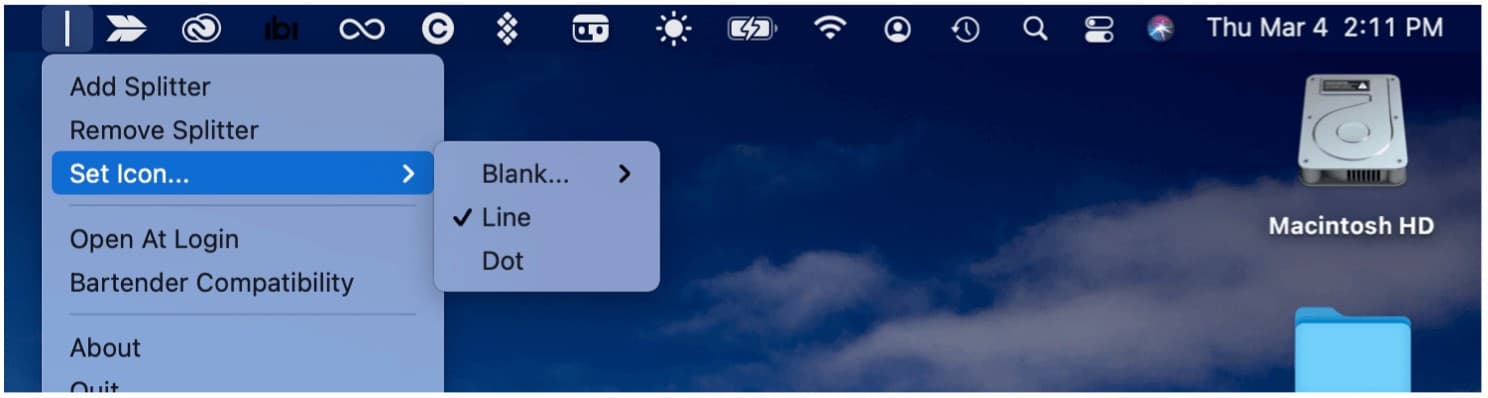
Once you open the app for the first time, you’ll notice a divider on the menu bar. For now, it’s just sitting there to the left of your first app icon. Using the sub-menu, you can adjust how your dividers look. A blank icon acts as a space between icons; you can make the blank space “thick” or “thin.” You can also add a vertical line or a dot. From the sub-menu, you can also add another divider. There’s also a Remove Splitter option.,
To drag existing app icons to different locations on your menu bar:
- Hold down the Command key on your keyboard while dragging the icon(s) to a new location.
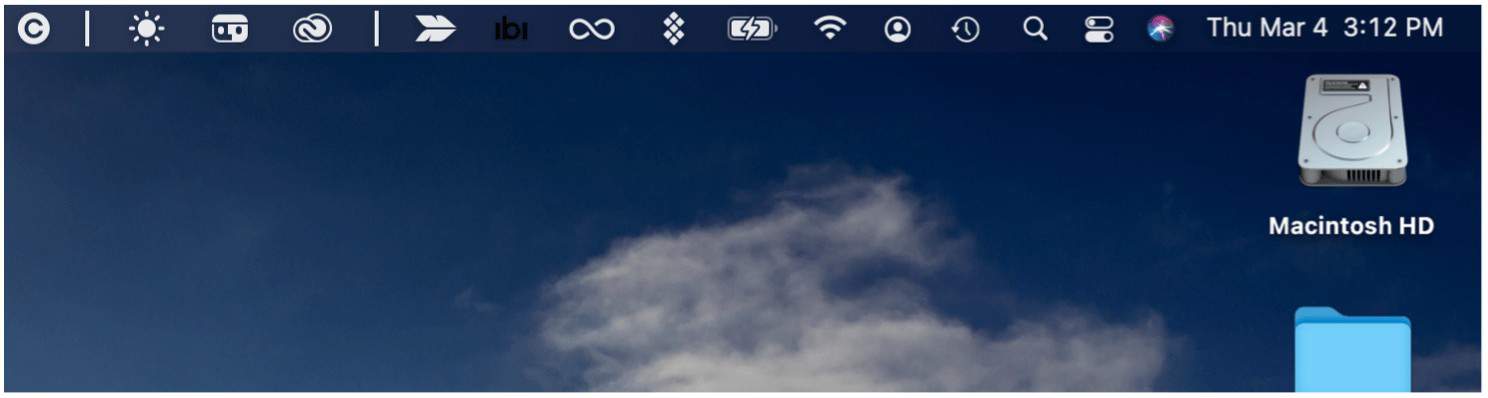
In the following example, three icons were moved to the left of the divider:
![]()
In this example, there are two dividers added, given you three sections in the menu bar:
What About Bartender 4 Compatibility?
One of the most popular menu bar-related third-party apps is Bartender. Now in its fourth-generation, the $15 app includes support for macOS Big Sur, although Bartender 3 is still available for anyone on an older macOS version.
Bartender 4, which remains in general beta for free, offers a fresh layout screen that gives you fuller control of your menu bar items. The most important three features of this new version include:
- Triggers, which allows you only to show menu bar items when you need them. For example, when your battery is slow, Wi-Fi is disconnected, or Time Machine is backing up.
- A Quick Reveal lets you gain instant access to your hidden menu bar items by either moving your mouse over the bar or by clicking.
- With Quick Search, you can find, show, and activate menu bar items from your keyboard.
Using With Menu Bar Splitter
To use Bartender with Menu Bar Splitter, you’ll need to activate a one-time compatibility setting from the Menu Bar Splitter’s icon. To do so:
- Click on the Menu Bar Splitter icon on the menu bar.
- Choose Bartender Compatibility.
- Select Yes.

Menu Bar Dividers: Final thoughts
Adding one or more menu bar dividers allows you to organize your icons better. It’s not a difficult tool to download or to use. The result is a cleaner desktop, which we can all use.


