How to Transfer Data to Your New Mac From Your Old Mac

If you buy a new Mac, it’s easy to set it up just like your old one. Learn how to transfer data to your new Mac from your old Mac using this guide.
A Mac can provide you with years and years of faithful service. Unfortunately, at some point, your Mac is going to begin to show its age. You may find that your Mac doesn’t support the latest version of macOS. Perhaps it’s struggling to cope with the demands of modern usage, with a quick-to-drain battery or not enough RAM or disk storage.
If you’ve decided it’s time to upgrade to a new Mac, then you may be worried that you’re going to have to spend hours setting up your new Mac to match your old one. The good news is that it’s fairly quick and simple to transfer all of your data from your old Mac straight to your new one. Your new Mac will feel like a shinier, faster version, with all of the files and settings transferred for you.
If you’re biting the bullet and upgrading your machine, then here’s how to transfer data to your new Mac from your old Mac.
How to Transfer Data to Your New Mac Over Wi-Fi
Your Mac comes with a preinstalled application called Migration Assistant that allows you to transfer your data from one Mac to another. There are three ways you can do this: over Wi-Fi, using a wired connection, or from a Time Machine backup.
Before you start the process, it’s recommended that you make a backup of your current Mac in case anything goes wrong.
To transfer data to your new Mac over Wi-Fi:
- Start up your new Mac.
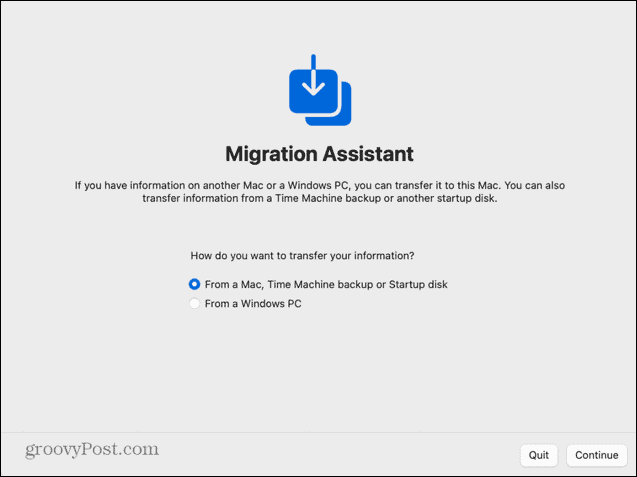
- Follow the on-screen instructions, including setting up a Wi-Fi connection, until you reach the Migration Assistant screen.
- Under How Do You Want to Transfer Your Information select From a Mac, Time Machine Backup, or Startup Disk.

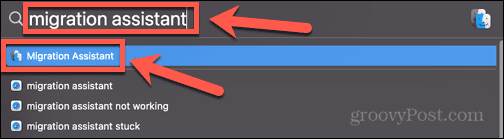
- On your old Mac, open Spotlight by pressing Cmd+Space.
- Type Migration Assistant into Spotlight and select the application from the results.

- When Migration Assistant launches, click Continue.

- You may need to enter your password to allow Migration Assistant to make changes to your computer.
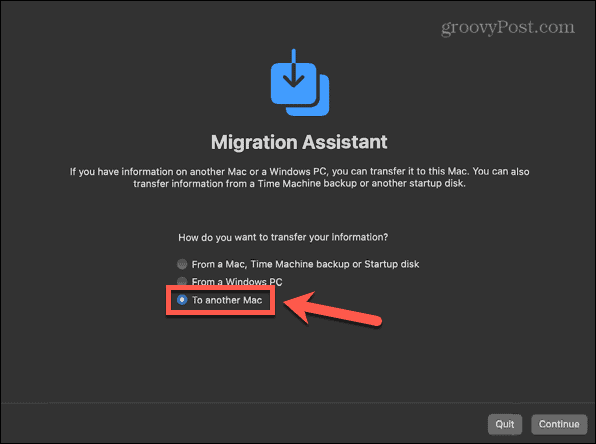
- Under How Do You Want to Transfer Your Information select To Another Mac.

- Click Continue.
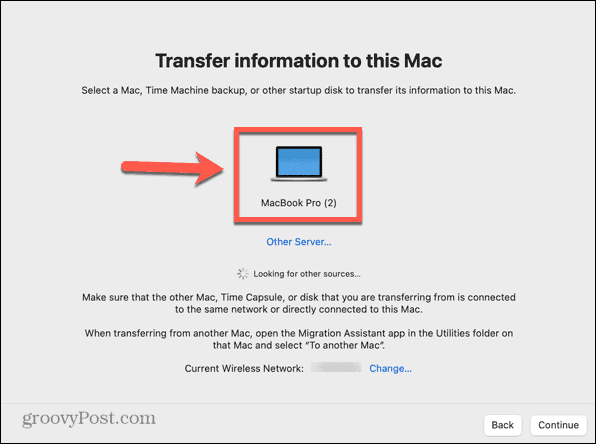
- Return to your new Mac. You should now see your old Mac listed as a source for data transfer. Click on your new Mac’s icon and then click Continue.
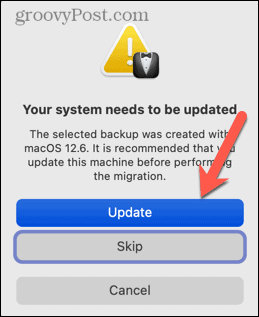
- You may need to upgrade the OS on your new Mac if it doesn’t match the OS of your old Mac. Click Update if prompted to do so.

- Once the upgrade has been completed, start Migration Assistant again following the steps above.
- A code will appear on your new Mac. Check that this matches the code shown on your old Mac. If it does, click Continue on your old Mac.

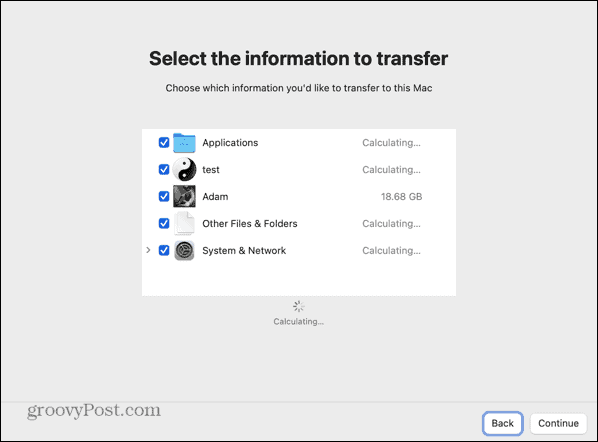
- Select the information you want to transfer. You can opt to transfer system files, apps, user accounts, and other files and folders. If you want your new Mac to be the same as your old one, select everything.

- Once you’ve made your selection, click Continue.
- Set a password for your user account. If you have any additional accounts, a temporary default password will be assigned to these accounts. Make sure to take note of this password.
- Once migration is complete, the user will be prompted to create a new password.
- Agree to the terms and conditions by pressing Agree.
- The transfer process will begin. This may take several hours, depending on the amount of data that needs to be transferred.

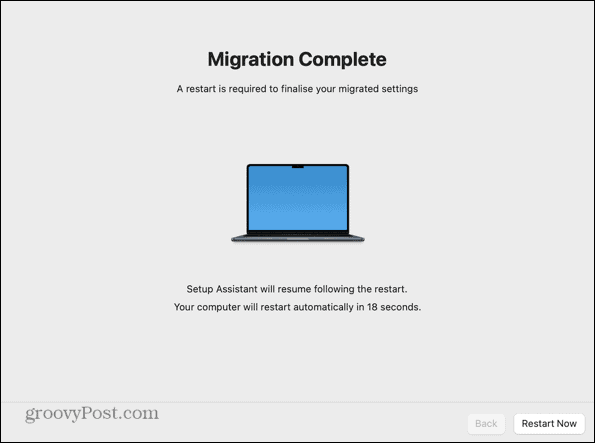
- Once the process has been completed, you’ll be prompted to restart.

- Log in to your new computer, and you should find all of your transferred data.


How to Transfer Data to Your New Mac from a Time Machine Backup
You can also set up your new Mac using data transferred from a Time Machine backup. By plugging the device that you use to store your backups into your new Mac, you can migrate the data from that backup onto your new Mac.
To transfer data to your new Mac from a Time Machine backup:
- Create a full backup of your old Mac.
- Power on your new Mac, and follow the on-screen instructions, until you reach the Migration Assistant screen.
- Plug your backup device into your new Mac.
- Beneath How Do You Want to Transfer Your Information select From a Mac, Time Machine Backup, or Startup Disk and click Continue.
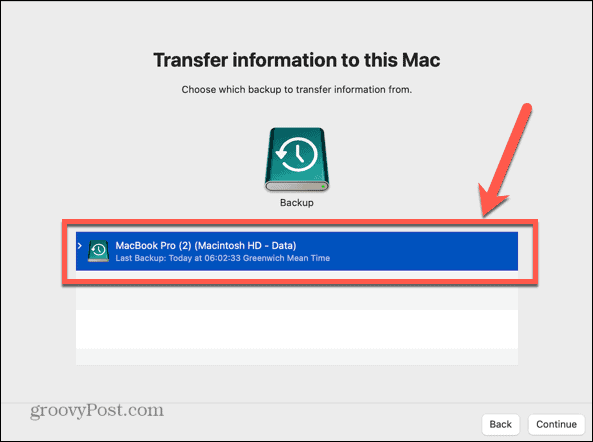
- Your backup device should appear. Select it and then click Continue.

- Choose a backup (ideally your most recent one) and click Continue.
- Select the information that you want to transfer and click Continue.
- The data will start to transfer. This may take several hours, depending on how much data is being transferred.
- When the transfer is complete, restart your computer and log in to your migrated account.

How to Transfer Data to Your New Mac Over a Wired Connection from an Intel Mac
If you have the appropriate cable, you can also transfer the data from your old Mac to your new Mac over a wired connection. This can be faster and more reliable than doing so over Wi-Fi. The steps are slightly different for Intel Macs and Apple Silicon Macs.
To transfer data to your new Mac over a wired connection from an Intel Mac
- Connect your Macs to each other with a USB, USB-C, or Thunderbolt cable.
- If your old Mac is off, power it up whilst holding down the T key to boot into Target Disk mode.
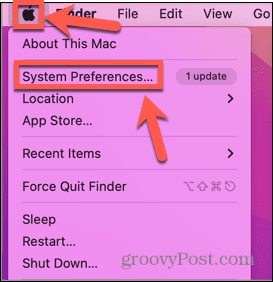
- If your old Mac is already on, click the Apple icon then select System Preferences.

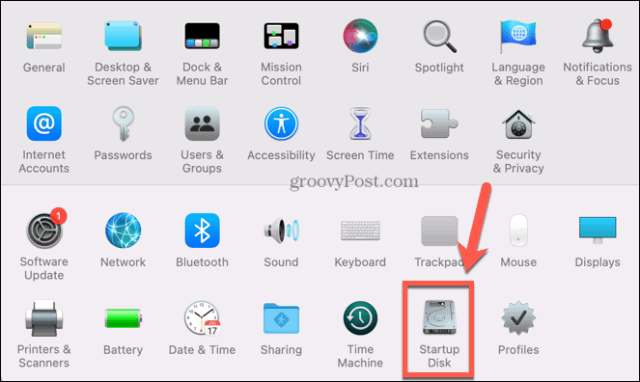
- Click Startup Disk.

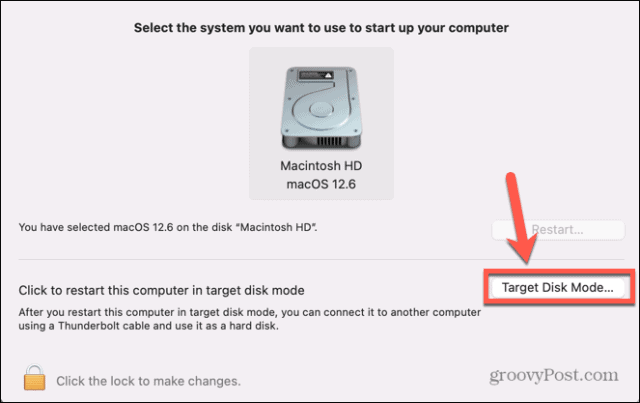
- Towards the bottom of the screen, click Target Disk Mode.

- Your Mac will restart in this mode.
- Power up your new Mac and follow the on-screen instructions until you reach the Migration Assistant screen.
- Below How Do You Want to Transfer Your Information select From a Mac, Time Machine Backup, or Startup Disk.
- Click Continue.
- You should now see your old Mac startup disk listed as a startup disk in Migration Assistant.
- Select it and click Continue.
- Select the information that you want to transfer.
- The transfer process will start. Even over a wired connection, this can still take a long time, depending on the amount of data that needs to be transferred.
- When the process is complete, close Migration Assistant and log in to your account.
How to Transfer Data to Your New Mac Over a Wired Connection from an Apple Silicon Mac
If your old Mac uses Apple Silicon then the way you share your disk with Migration Assistant is slightly different.
To transfer data to your new Mac over a wired connection from Apple Silicon Mac
- Connect your Macs to each other with a USB, USB-C, or Thunderbolt cable.
- If it’s powered on, shut down your old Mac.
- Press and hold the power button. Don’t release it until the startup options appear.
- Select Options.

- Click Continue.
- Enter your password if requested.
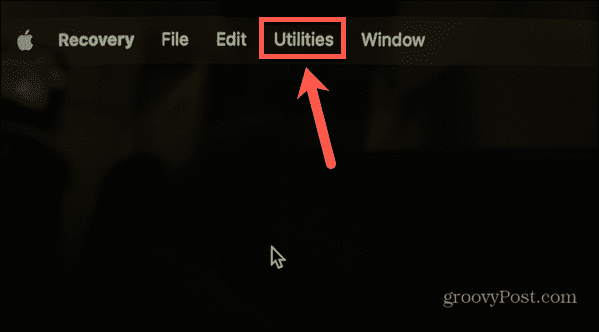
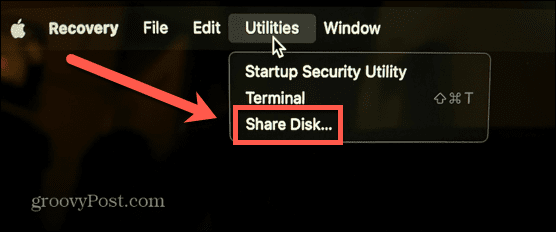
- Click Utilities in the menu bar.

- Select Share Disk.

- Choose the disk containing the data you want to transfer.
- Click Start Sharing.

- Power up your new Mac and follow the on-screen instructions until you reach the Migration Assistant screen.
- Under How Do You Want to Transfer Your Information select From a Mac, Time Machine Backup, or Startup Disk.
- Click Continue.
- You should now see your old Apple Silicon Mac listed as a source in Migration Assistant.
- Select this disk and click Continue.
- Choose the information that you want to transfer.
- The transfer process will start. This could take a few hours, depending on the amount of data that needs to be transferred.
- When the process is complete, close Migration Assistant and log in to your account.


Upgrading Your Mac
Learning how to transfer data to your new Mac from your old Mac allows you to set up your new Mac exactly like your old one with just a few clicks and a little bit of patience. Once you’ve got your Mac set up, you can start enjoying the benefits of your new Mac.
A new Mac is a good opportunity to add some new apps. If you want to work smarter, not harder, then you should check out some of the great productivity apps for Mac. If you’re using your new purchase as an opportunity to clear out some dead wood, then you’ll want to know how to delete apps on Mac.


