How to Set Up and Use Slack Screen Sharing

Slack screen sharing is a useful way to share visual ideas during a meeting or team call. This guide explains how to get started.
Trying to talk someone through a task on Slack can quickly get frustrating, especially if the other person doesn’t have the right app or document to look at.
The good news is that you can make your life a whole lot easier by sharing your screen during a Slack call. This allows anyone else in the call to see exactly what you’re doing on your screen, so you can talk them through it step-by-step.
There’s even the option to draw on the screen in real-time, allowing you to make your explanations even clearer. We’ll explain how to set up and use Slack screen sharing below to help you get started.
Requirements for Slack Screen Sharing
Slack offers both paid and free tiers. Whilst you can use the free version of Slack for things such as voice calls and one-to-one video calls, a paid subscription is required for additional features such as group video calls. A subscription is also required if you wish to use screen sharing.
If you want to give Slack screen sharing a try, however, then Slack does offer a 30-day no-obligation trial to allow you to try out the premium features.
How to Use Slack Screen Sharing
In order to share your screen, you first need to start a call in Slack. Once your call is connected, you then have the option to share your screen with the person or people you are calling.
To Share Your Screen in Slack:
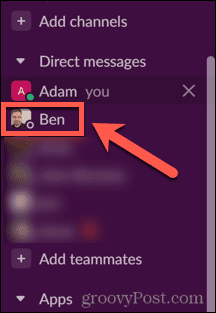
- Open a direct message in Slack by clicking on the name of the person you want to call in the menu on the left.

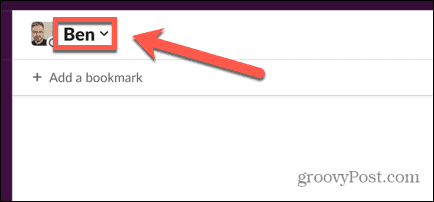
- At the top of the Direct Message window, click on their name.

- To start a call, click the Start a Call button.

- Alternatively, if you want to start a call in a channel, open the channel by clicking it in the left-hand menu.

- Click the name of the channel at the top of the screen.

- Select Start a Call.

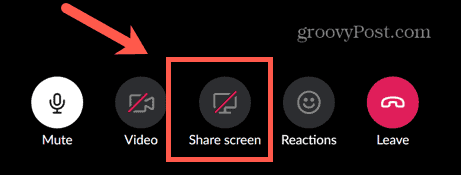
- Once the call has started, click Share Screen to start screen sharing.

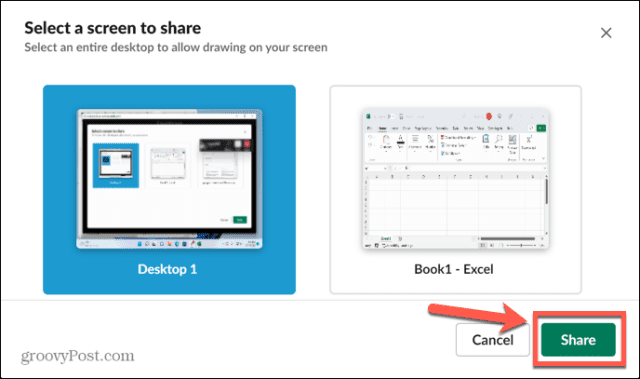
- Select the screen you want to share. You can select an entire desktop or just one specific window.
- Click Share when you have made your selection.

- You will become the active user in the call for the entire time that you are sharing your screen, so no other camera feeds will appear.
- When you want to stop sharing your screen, click the Stop Sharing icon, and you will return to a normal call.


How to Use the Drawing Tool in Slack Screen Sharing
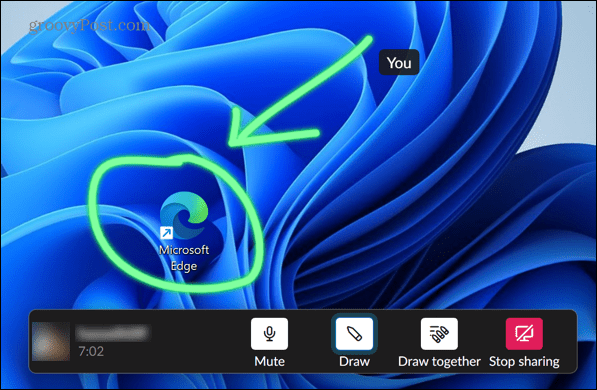
When you’re sharing your screen, you have the option to use Slack’s drawing tools to help clarify what you’re trying to show on your screen. You’ll only be able to use this feature if you select an entire desktop for screen sharing, rather than an individual window.
As the person sharing your screen, you can decide whether other people can also draw on your screen, or if you are the only person able to do so.
To use the drawing tool in Slack screen sharing:
- Start a screen sharing session using the method described above. You’ll need to select an entire desktop in order to be able to use the drawing tool.
- Click the Draw icon.
- Use the cursor to draw on the screen. Your drawing will appear and fade away after a few moments.

- By default, the option for anyone on the call to draw on the screen is enabled. To turn this off, click the Draw Together icon.

- If you want to change the color, press and hold Ctrl on Windows or Cmd on Mac and start drawing. You will then see a color picker where you can choose your line color.

- To stop drawing, click the Draw icon again to turn off the drawing tool.


Troubleshooting Slack Screen Sharing
If you’re having trouble getting Slack screen sharing to work, there are a few common reasons that may be the cause. We will take a look at some of the fixes you can try.
Allow Slack Through Windows Firewall
Some users have had issues with Windows Firewall blocking Slack from sharing the screen. To solve this issue, you can change the Windows Firewall settings.
To allow Slack through Windows Firewall:
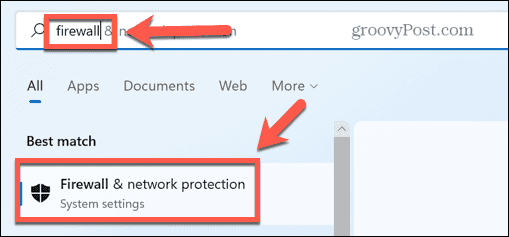
- Click the Search icon.

- In the search bar, start typing Firewall and then double-click the app that appears beneath.

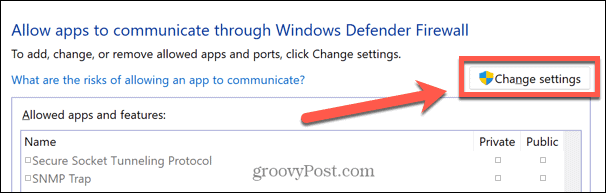
- Click Allow An App Through Firewall.

- At the top of the list of allowed apps, click Change Settings.

- The Allow Another App button will now be active. Click this button.

- Navigate to the Slack app and click Add.

- Slack will now be added to the list of allowed apps. Try screen sharing again to see if it has worked.


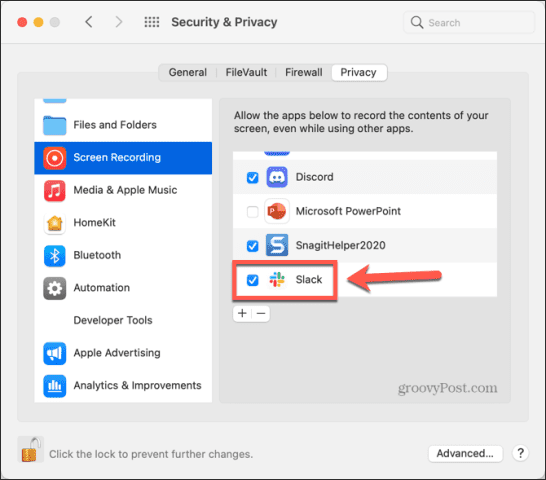
Grant Slack Screen Sharing Permissions on Mac
In order to share your screen on a Mac, you will need to provide Slack with permission to record your screen. If this isn’t the case, then screen sharing won’t work.
To grant Slack screen sharing permissions on Mac:
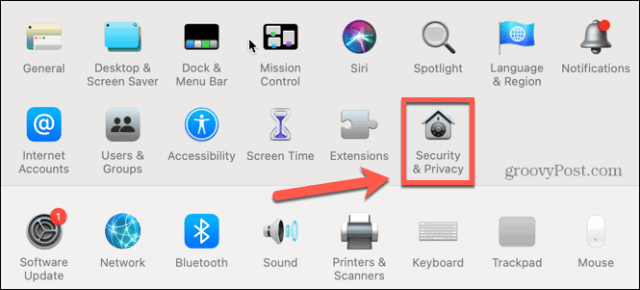
- Launch the System Preferences app.

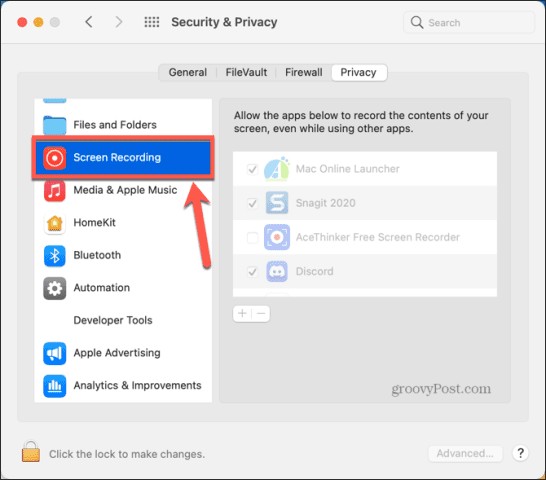
- Select Security & Privacy.

- Click the Privacy tab.

- Select Screen Recording.

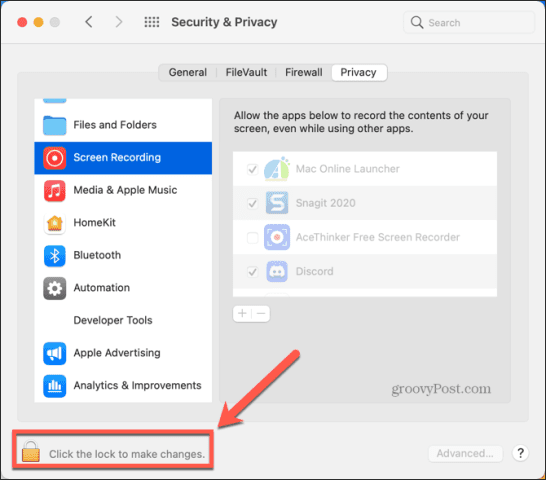
- Click the Padlock icon to make changes to the permissions.
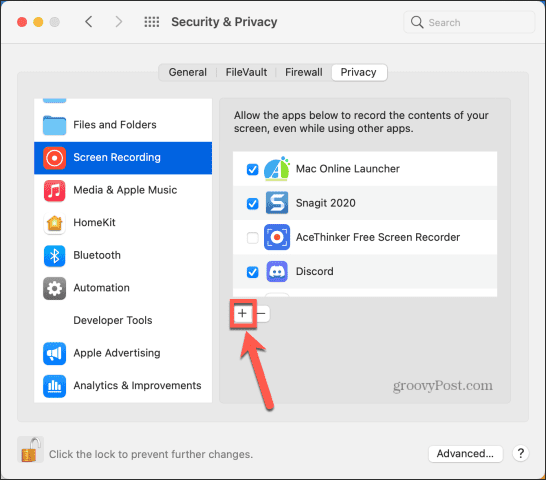
- If Slack is not already in the list of allowed apps, click the Plus (+) icon.
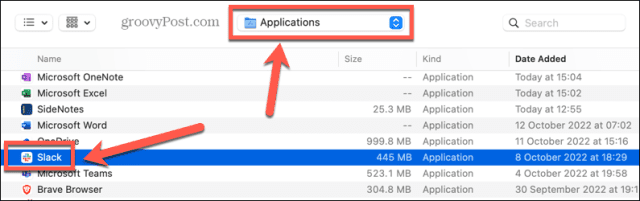
- Select Applications from the drop-down and select Slack.

- Ensure that Slack is now checked in the list of apps permitted to record the screen.


Using Slack Effectively
Setting up and using Slack screen sharing allows you to get the most out of the app, but only if you have a paid subscription. There are plenty more features of Slack that you can benefit from, too.
For example, you can create a poll in Slack to allow people to vote on decisions. You can record audio and video clips within Slack to save writing out long-winded explanations. It’s even possible to schedule messages to send later in Slack, so you don’t have to worry about remembering to send that reminder message later in the day.
However you’re using Slack, we would always recommend adding two-factor authentication to your Slack account to ensure that you and your team’s data is kept as safe as possible.