How to Reset the Settings App on Windows 11

The Settings app is a critical piece of the Windows 11 experience. If it stops working, you can reset the Settings app on Windows 11 with this guide.
The Settings app on Windows 11 is crucial for managing and configuring your Windows 11 system. It’s the modern interface app meant to replace Control Panel on your PC to access various system and app settings.
You can control system and app features, manage personalization features to change the look and feel of the OS, and change other system settings. However, sometimes the Settings app doesn’t launch or crashes repeatedly.
If the Settings app isn’t working on your Windows 11 PC, you can reset the app on Windows 11 to get it working. Here’s how.
How to Reset Settings on Windows 11
One method you can use to reset Settings is by using the Settings app. So, this option works best if you can launch Settings but have an issue with the app being unstable or crashing. If that happens, hopefully, you’ll be able to launch it long enough before it crashes.
Note: To keep Settings as stable as possible so you can reset the app, try to boot Windows 11 into Safe mode first.
To reset the Settings app on Windows 11:
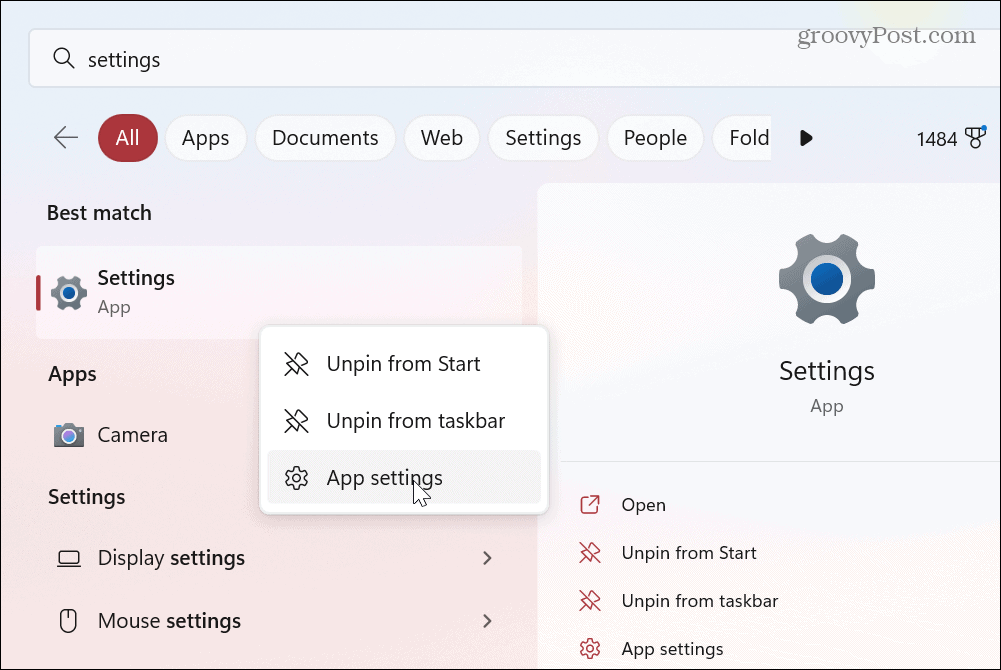
- Press the Windows key on your keyboard to open the Start menu.
- Type settings, right-click the Settings app under the Best match section, and click App settings.

- When the app’s settings screen opens, scroll down the left side, and click the Reset button twice.

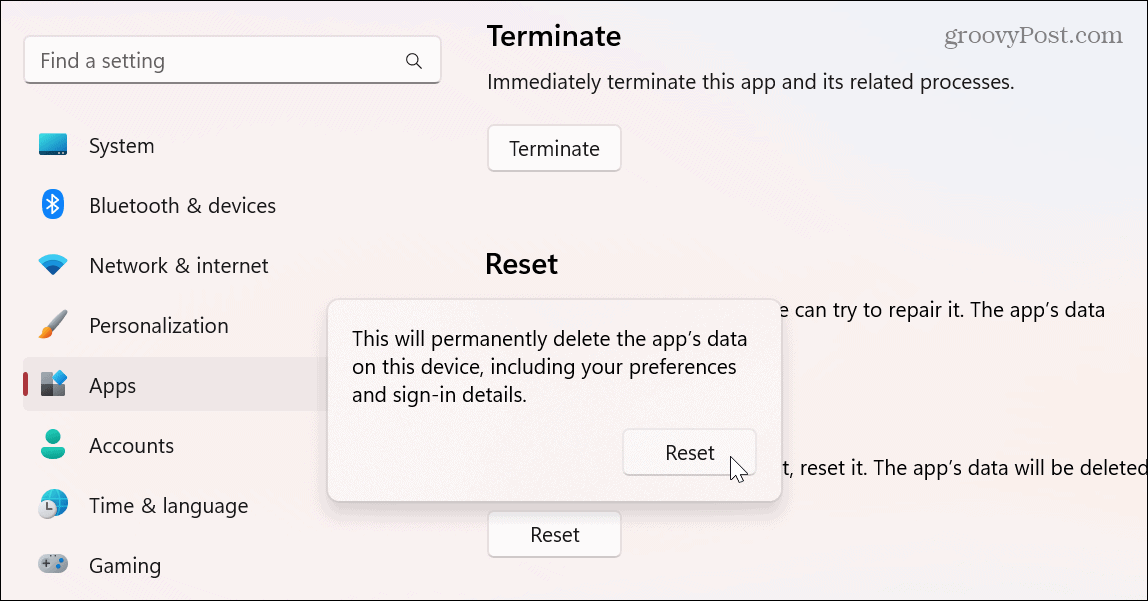
After the reset process completes, all data is deleted, the app will close, and it will be reinstalled to factory settings. After resetting the app, click the Start button or hit your Window key to launch settings and see if it’s working following the reset.
Alternatively, you can hit the keyboard shortcut Windows key + I to launch Settings directly.
Use PowerShell to Reset Settings App on Windows 11
If the option above didn’t work or you want to take a different path, you can use PowerShell commands to reset the Settings app on Windows 11.
To reset the Settings app with PowerShell, do the following:
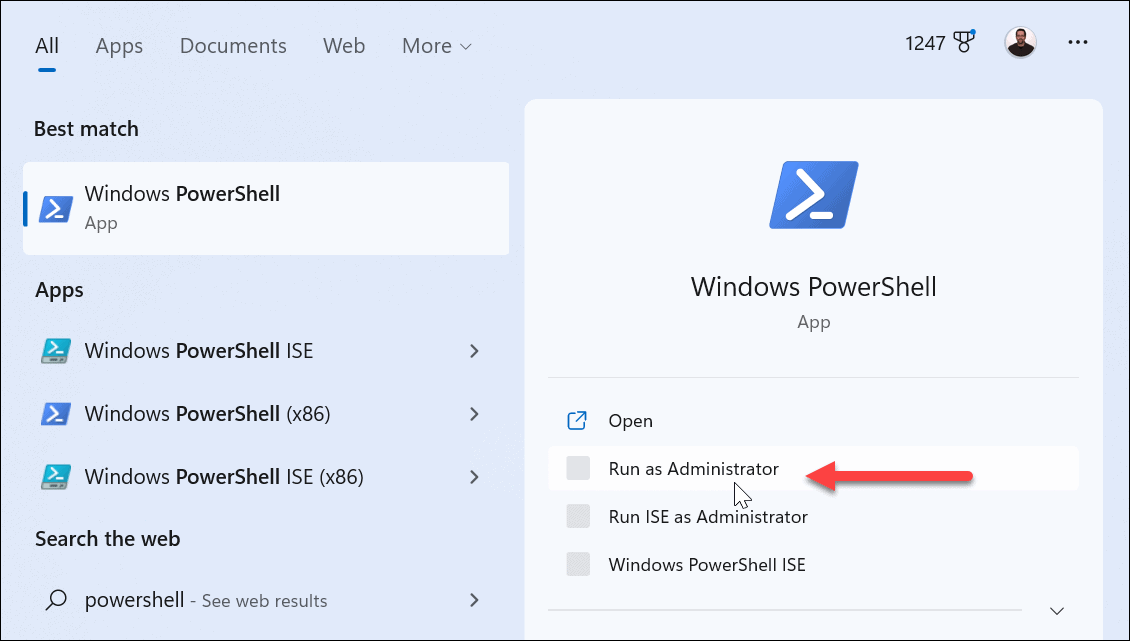
- Press the Windows key, type powershell, and click the Run as Administrator option in the right panel.

- When PowerShell launches, run the following command and hit Enter.
Get-AppxPackage *Windows.ImmersiveControlPanel* | Reset-AppxPackage


When you run the command, nothing will happen other than a brief blink of your screen. There won’t be a verification screen, but after running the command, the app will reinstall and reset the Settings app to default settings on Windows 11.
After running the command, click the Start button or press the Windows key and launch the Settings app to verify it is working. It’s also important to note that you can use Windows key + I to launch Settings directly.

Fixing Windows 11
Short of resetting all apps or doing a system restore, a factory reset, or a clean boot, using one of the options above should get the Settings app working again on your Windows 11 PC. Before you begin, make sure you have a complete backup of your PC so you can recover your system if something goes wrong.
There are other aspects of Windows 11 you may need to reset or fix. For example, if you have taskbar problems, you can reset taskbar settings. So, when it comes to apps, some things you might need to do to improve performance are disabling startup apps or learning to uninstall apps on Windows 11.
And if you aren’t running Windows 11 yet, we have you covered. For example, you can reset apps on Windows 10.


