How to Remove Page Breaks in Word

Page breaks are a useful feature for splitting up Word documents, but if they appear in the wrong place, you’ll need to remove them. Here’s how.
If you’re working on a Word document, you probably don’t want your most important paragraph cut off and moved to the next page. The flow of your writing is important, as is keeping your document design in place.
Word automatically inserts page breaks, based on the size of the page and font. These don’t always appear in the best places, however.
You can add your own manual page breaks to your document, but if you put it in the wrong place, you might need to remove these. If you want to remove page breaks in Word, you’ll need to follow these steps.
Removing Manual Page Breaks in Word
Removing manual page breaks in Word is actually quite simple to do.
If you’re using the desktop version of Word, select the Home tab on the ribbon bar.

Click the ¶ icon (paragraph icon) in the Paragraph section.

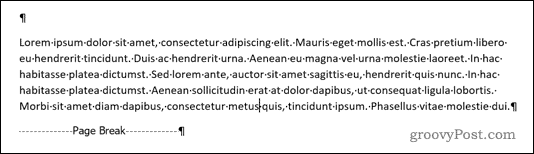
You should now be able to see the page breaks in your document.
If you’re using the web version of Word, these page breaks may already be visible in editing mode. If they’re not, press the Show/Hide ¶ button in the Paragraph section.

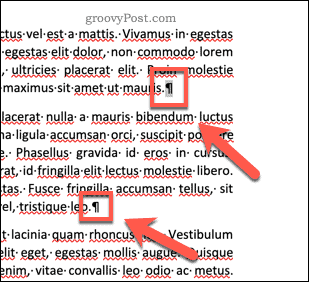
To remove page breaks, double-click to select the page break, then hit the Delete key to remove it.
Removing Automatic Page Breaks in Word
It isn’t possible to delete automatic page breaks in Word, but you can adjust settings to make them work a little better.
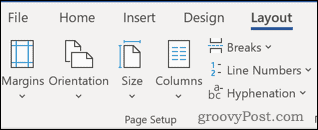
To do this, highlight the paragraphs that contain the page breaks you want to adjust, then click the Layout tab on the ribbon bar.
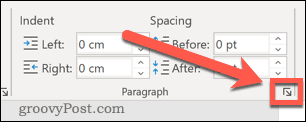
Click the downwards arrow icon in the bottom-right corner of the Paragraph section.
In the options window, click the Line and Page Breaks tab.

The Pagination section has four options that can affect the layout of your page.

Widow/Orphan control ensures that you always have at least two lines at the top and bottom of every page.
Keep with next allows you to link two paragraphs together so that there won’t be any page breaks between them.
Keep lines together keeps your entire paragraph intact, meaning the page break will occur before or after the selected paragraph.
Page break before forces the automatic page break to come before your selected paragraph, shifting it onto the next page.
If none of these options suit your needs, you can also choose to have none of these options selected. In this case, the automatic page breaks will appear as they normally would.
Once you’ve selected your chosen options here, click OK to confirm. The settings will be applied to your entire document.
Take Control of Microsoft Word
Deciding where you want page breaks to occur can help you to create documents that are designed the way you want them to.
If you want to make further changes to your Microsoft Word documents, you can. You could, for instance, learn how to indent text to make certain paragraphs or lines stand out. You could even rearrange pages in Word to help you edit, move and rearrange your document. If you’re creating different styles of document, you may prefer to make one page landscape to mix and match.
The more you learn about Word, the easier it will be to create the exact documents that you want.


