How to Hide Text Until Clicked in Powerpoint

Hiding text in PowerPoint allows you to reveal when it will carry the most impact. Learn how to hide text until clicked in PowerPoint.
A well-prepared PowerPoint document can make or break a presentation.
You may have some information that you don’t want to reveal immediately so that it has more impact when it is finally shown. It’s simple to do this by hiding text until you click on the slide or a specific shape.
Here’s how to hide text until clicked in PowerPoint.
How to Hide Text Until Any Click in PowerPoint
If you want the text to appear when you click anywhere on your PowerPoint slide, then it’s quick and easy to set up.
To hide text until any click in PowerPoint:
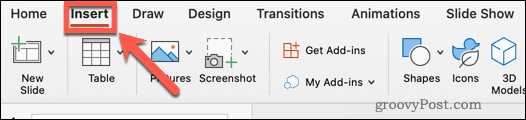
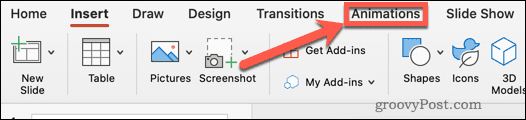
- Open your PowerPoint document and click on the Insert menu.

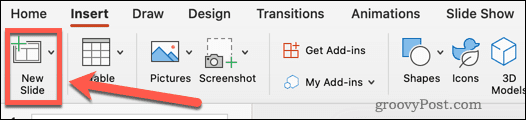
- Click on New Slide.
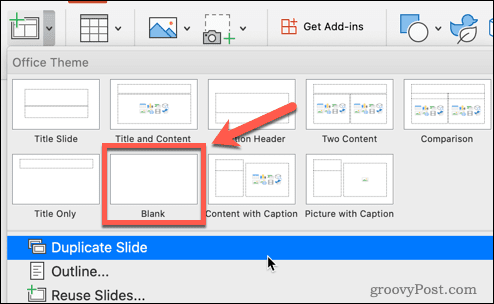
- Select Blank or one of the other presets.

- Still in the Insert menu, click on Text Box.

- Drag out a text box on your slide.

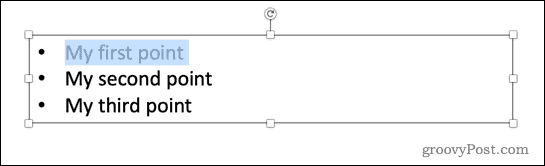
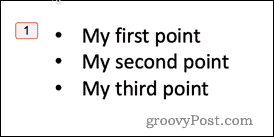
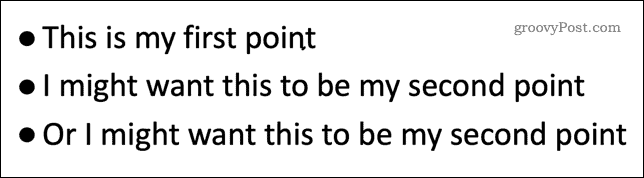
- Click in the text box and enter your text. The text tools can be found under the Home menu.

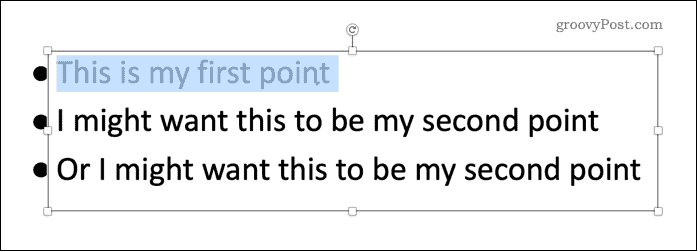
- Highlight the first section of text you want to hide or all the text if you want everything to appear at once.

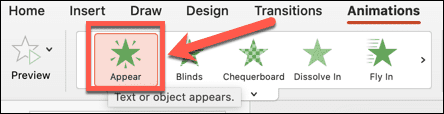
- Click on the Animations menu.
- Click on Appear or choose one of the other animation types.

- You will see a number appear on your slide, indicating the order of animations.

- Repeat the process with any other text you want to hide.
- Run your slideshow by clicking on the Slide Show menu and clicking Play from Start. Alternatively, you can use the keyboard shortcut F5 on Windows or Cmd+Shift+Enter on Mac.

- Your slide will first appear empty. Each time you click on it, the next section of hidden text will appear.


How to Hide Text Until a Shape is Clicked in PowerPoint
With the method above, the hidden text will always appear in the same order no matter where in the slide you click. If you want to control the order in which your text appears during your presentation, you can make use of PowerPoint triggers. This allows you to make different text appear depending on where you click.
To use triggers to make hidden text appear in PowerPoint:
- Open a PowerPoint document and click Insert.
- Click on New Slide.
- Click on Blank or select one of the other preset slide layouts.
- In the Insert menu, click on Text Box.
- Drag out a text box.
- Click in the text box and enter your text.

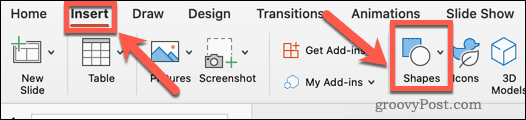
- In the Insert menu, click on Shapes.
- Select your shape.

- Drag out your shape and position it in your slide.
- You can use Ctrl+C and Ctrl+V on Windows or Cmd+C and Cmd+V on Mac to copy and paste the shape as many times as you wish.

- Highlight one of the sections of text that you want to hide.

- Click on Animations.
- Click on Appear or select a different animation.
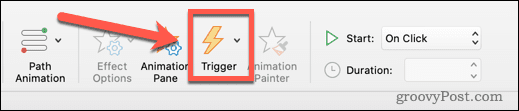
- In the Animations menu, click on Trigger.

- Hover over On Click Of and select the name of the shape you want to click on to make the text appear.

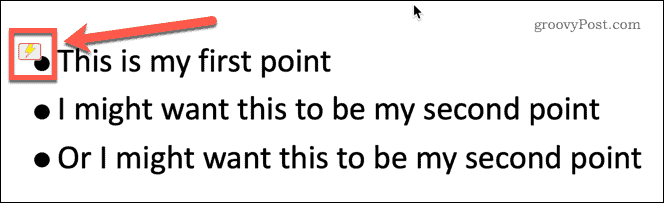
- A lightning symbol will appear next to this shape indicating that it is an animation trigger.

- Repeat steps 11-16 with any other sections of text you want to hide.
- Start your slideshow by clicking on the Slide Show menu and clicking Play from Start.
- When your slide first appears, only the shapes will be visible.

- Click on one of the shapes to make the associated text appear. The order you click the shapes is the order that the text will appear.

- Be careful not to click elsewhere in the slide, as this will cause the slideshow to move to the next slide.


Harness the Power of PowerPoint
Knowing how to hide text until clicked in PowerPoint is just one of the many things it’s possible to do to make your PowerPoint presentations more impressive.
Learning how to use slide transitions in PowerPoint can make your presentations more eye-catching, provided that you don’t overdo it! You can also add video to a PowerPoint to give it more visual impact.
Once you’re created it, you can broadcast your PowerPoint online, which is ideal for remote presentations.


