How to Fix a Zoom Camera

Having problems getting your camera to work on Zoom? Read on for some tips on how to fix Zoom camera issues.
Zoom is one of the few success stories that came out of the pandemic. The videoconferencing app soared in popularity when people were confined to their homes, and for good reason. The app is easy to use and allows you to make high-quality group video chats from your laptop or desktop.
In order to use the app, however, you need two things: a working microphone and a working webcam. If Zoom can’t access your camera, then your video call will just become an audio call.
Read on for some tips on how to fix Zoom camera problems.
Make Sure the Camera is Connected
If you’re using an external webcam, the issue may simply be that the webcam is not connected correctly.
First off, ensure that the webcam is plugged in securely. If it is, try the webcam in a different USB port to see if it makes any difference. If you’re using a wireless webcam, check that Bluetooth is on and that your webcam has sufficient charge.
Ensure Your Webcam is Selected in Zoom
If your webcam isn’t working when you join a meeting, it may be that it isn’t selected in the Zoom app.
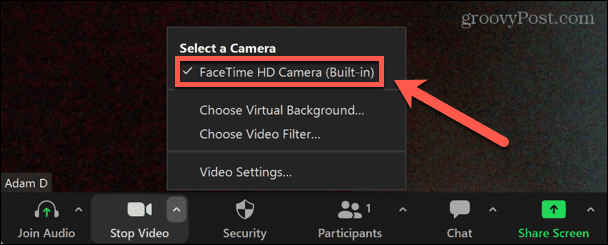
To select a camera in Zoom:
- In the menu bar, click on the small arrow next to the Video icon.

- Select your camera from the list of options.

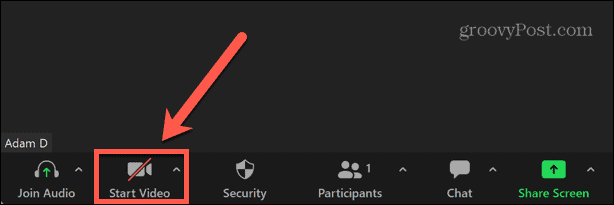
- If the camera icon has a line through it, try clicking the Start Video icon to enable the webcam.

Make Sure You Have the Correct Zoom Camera Settings
You can change the default settings for your camera in Zoom app. This should ensure that your camera always has the right settings when you start or join a Zoom meeting.
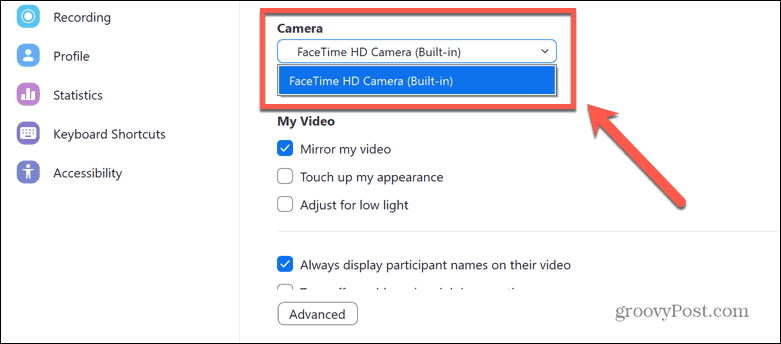
To update your webcam settings on Zoom:
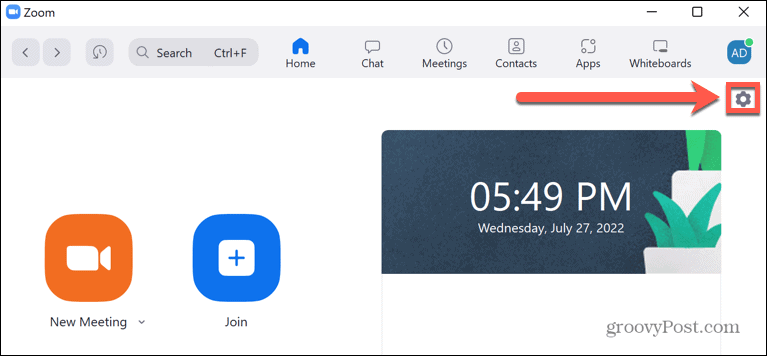
- Launch the Zoom app.
- In the top right-hand corner, click the Settings icon.

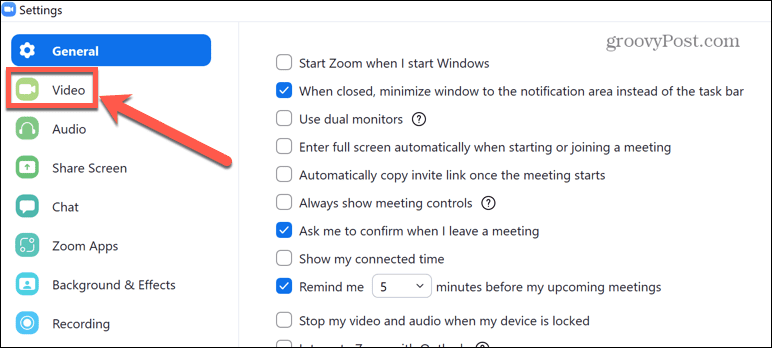
- From the left-hand menu, select Video.

- From the Camera drop-down, select your webcam.

- Uncheck Turn Off My Video When Joining Meeting.

- Click Advanced.

- The default settings are for all checkboxes to be checked, and Video Rendering Method, Video Rendering Post Processing, and Video Capturing Method to be set to Auto. If any of these settings are different, set them to the defaults.

- If your settings are already the defaults, try changing some of these options to see if they fix your Zoom camera problems.


Close Any Apps Using Your Webcam
If other apps on your computer are using your webcam, this may stop Zoom from being able to access it.
Apps such as FaceTime, WhatsApp, and Skype could be running in the background and hogging your webcam connection. Look for any open apps that may be using your webcam and close them.
If you don’t see any obvious culprits, try opening Task Manager in Windows or Activity Monitor on macOS and killing any apps that may be using your webcam.
Give Zoom Permission to Use Your Webcam
If you can’t use your webcam in Zoom, the app may not have the relevant permissions. You’ll need to allow the Zoom app access to your camera.
To allow apps to access your camera in Windows:
- Click the Start icon.

- In the Pinned apps, click Settings.

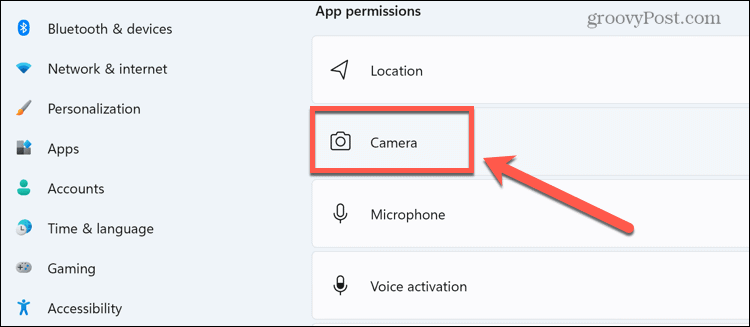
- From the left-hand menu, select Privacy & Security.

- Scroll down and click Camera under App Permissions.

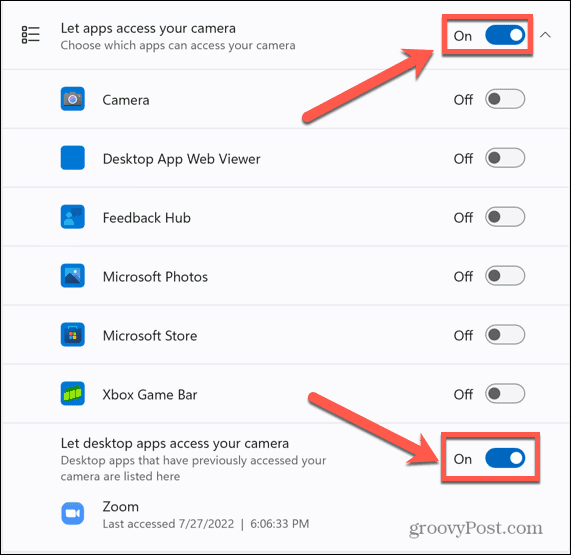
- Ensure that the toggle switches for both Let Apps Access Your Camera and Zoom are turned On.


To allow Zoom to access your webcam on Mac:
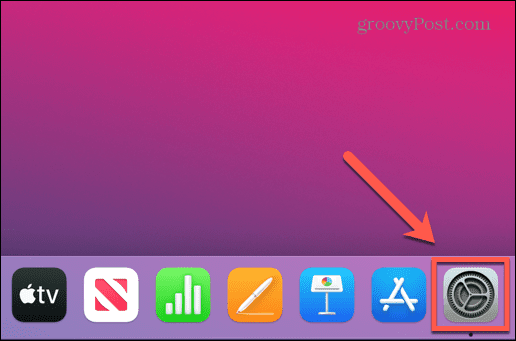
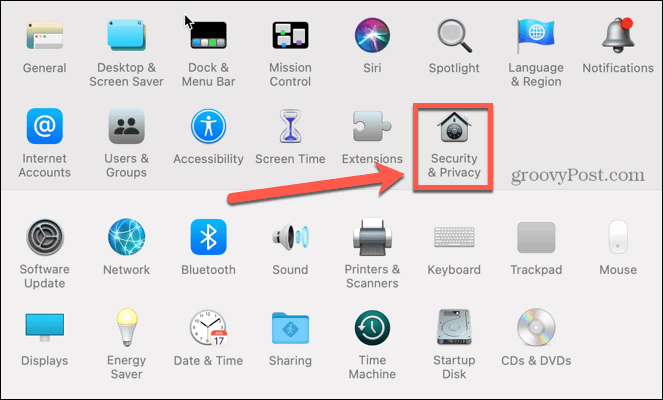
- Launch System Preferences.

- Select Security & Privacy.

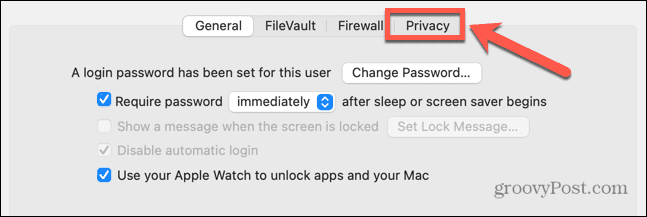
- Click the Privacy tab.

- Select Camera from the left-hand menu and ensure that Zoom is checked.


Update Your Webcam Driver
If your webcam isn’t working properly, it may be due to an outdated webcam driver. Try updating your driver to see if this fixes the problem.
To update your webcam driver in Windows:
- Click on the Start icon.
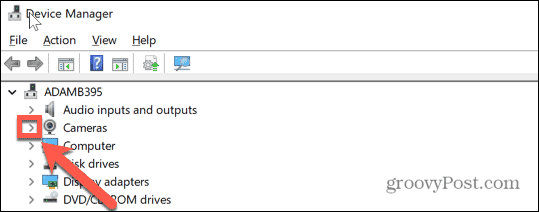
- In the search bar, start typing Device Manager and then click the Device Manager app.

- Click the small arrow next to Cameras.

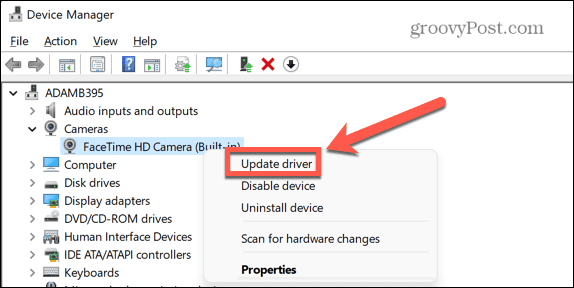
- Right-click on your webcam and select Update Driver.

- Select Search Automatically for Drivers.

- If an update is available, follow the instructions to install it. You may need to restart your computer for the changes to take effect.


Update Your Mac
If you run Zoom on a Mac, macOS 10.7 has known issues running the app. If you’re running this version of macOS, updating the OS may fix your Zoom camera problems.
To update macOS:
- Click the Apple icon.

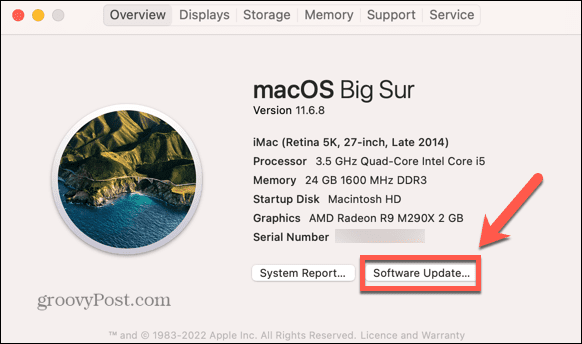
- Select About This Mac.

- Click Software Update.

- Your Mac will check for any updates. If it finds one, click Update Now or Upgrade Now to install it.

Fix Zoom Camera on Lenovo Laptops
Some Lenovo laptops have default settings that stop Zoom from accessing the built-in webcam. You’ll need to change these settings to fix your camera issues.
To fix Lenovo camera issues on Windows 7:
- Click on the Start button.
- Type Lenovo – Web Conferencing in the search box.
- Open the Lenovo – Web Conferencing app.
- Start your webcam, and then close the Lenovo – Web Conferencing app.
- Launch Zoom.
To fix Lenovo camera issues in Windows 8:
- Click on the Start button.
- Type Lenovo Settings in the search box.
- Open the Lenovo Settings If it can’t be found, you can install it from the Microsoft App Store.
- Click the Camera tab.
- Scroll down and toggle Privacy Mode to Off.
- Launch Zoom.
To fix Lenovo camera issues in Windows 10:
- Click on the Start icon.
- Type Lenovo Vantage into the search box.
- Open the Lenovo Vantage If it can’t be found, you can install it from the Microsoft App Store.
- Click Hardware Settings.
- Select Audio/Visual.
- Scroll down to Camera Privacy Mode.
- Toggle Privacy Mode to Off.
- If the switch keeps returning to the On position, your laptop has a built-in switch to disable your camera. Ensure this switch is open.
- Launch Zoom.
Reboot Your Computer
If in doubt, try turning it off and on again.
Rebooting your computer may resolve any issues that are stopping Zoom from accessing your webcam. It will also stop any processes that could be getting in the way.
Uninstall the Zoom App
If all else fails, you can try uninstalling the Zoom app and reinstalling a fresh version. This may help to fix your camera issues.
To uninstall Zoom on Windows:
- Click on the Start icon.
- Select Settings in the pinned apps.
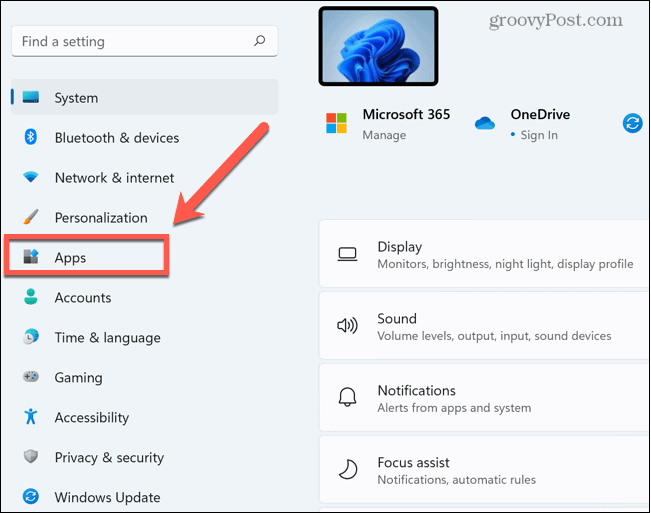
- From the left-hand menu, select Apps.
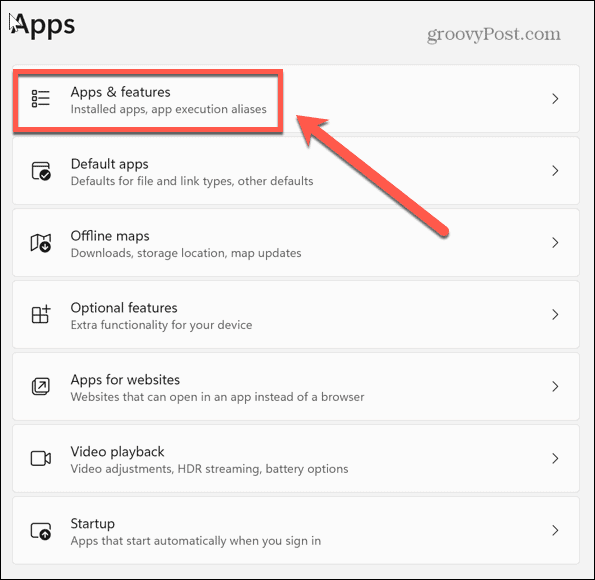
- Click Apps & Features.

- Scroll down to the Zoom app and click the three dots icon.

- Click Uninstall.

- Once the process has completed, download and install the Zoom app once more.


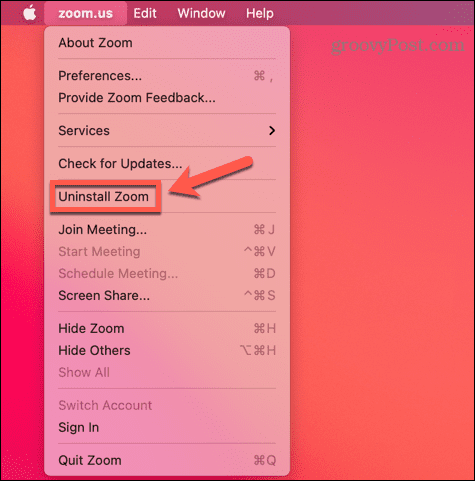
To uninstall the Zoom app on Mac:
- Launch the Zoom app.
- Click Zoom.us in the menu bar.

- Select Uninstall Zoom.

- Confirm that you want to uninstall the app by clicking OK.

- Zoom will uninstall.


Become a Zoom Pro
Zoom is one of the most popular video conferencing apps in the world, so if the camera isn’t working it can be a real pain. Hopefully, one of the tips above on how to fix Zoom camera issues will have helped you to resolve your problems. Once your camera is working, you’ll also need to be sure that your microphone is working correctly, too.
If you’re totally new to the app, then it’s not too tricky to learn how to get started with Zoom. Once you know what you’re doing, you can try experimenting with some of the other features, such as adding custom backgrounds to your Zoom meetings.


