How to Fix Epic Games Error AS-3 on Windows
Encountering the AS-3 error on the Epic Games Launcher can frustrate Windows users, as it usually indicates a connection issue. It might be server downtime at fault or something local, such as your network connection settings.
Several potential solutions can help you troubleshoot this error and get back to enjoying your gaming experience. Follow the steps below to fix the Epic Games error AS-3 on Windows.
How to Check if Epic Games is Down
The AS-3 error might be caused by a temporary issue with Epic Games’ servers—something that is out of your control. To verify if the problem is related to server downtime, you’ll need to check the status of Epic Games services.
To check the status of Epic Games services:
- Open your web browser and visit the Epic Games Status page.
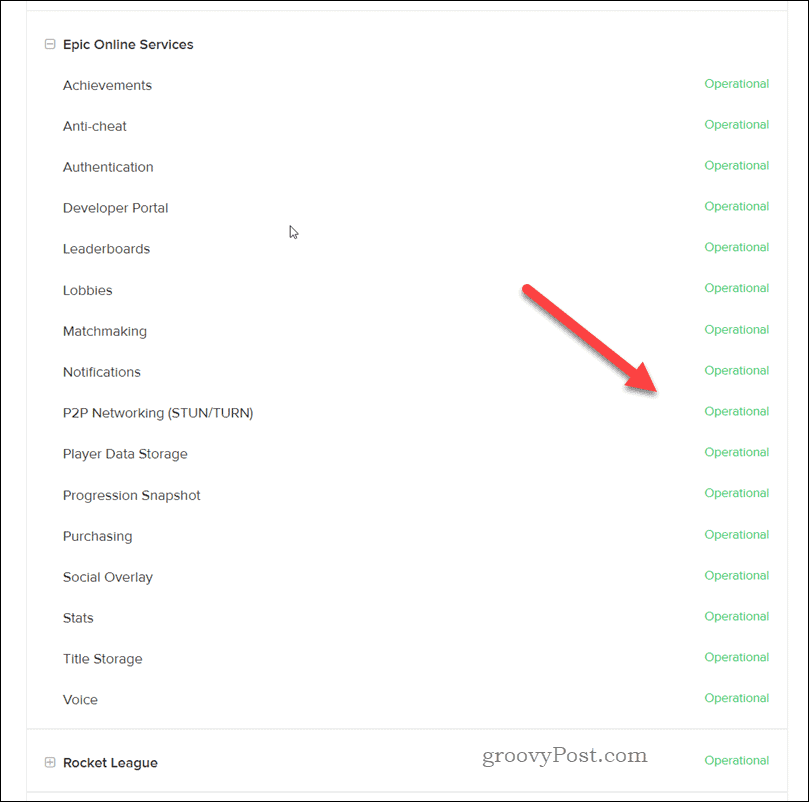
- Click the + (plus) buttons for the Epic Online Services and Epic Games Store categories to expand their details.

- Look for any signs of non-operational or degraded services, which could indicate an issue with their servers.


If you find some services are down or experiencing problems, wait for Epic Games to resolve the issue and try again later.
How to Try the Network Troubleshooter
The Network Troubleshooter is a built-in tool in Windows that can help identify common network-related issues on your PC and fix them for you automatically or identify easy fixes that you can apply yourself.
If you’re experiencing the Epic Games Launcher AS-3 error, it might result from network connection problems that this troubleshooter can identify and fix.
To run the Network Troubleshooter on Windows 11:
- Right-click the Start menu and select Settings or press the Windows + I to open the Settings app.

- In Settings, go to System > Troubleshoot > Other troubleshooters.

- Find the Network and Internet troubleshooter and click Run.

- Wait for the process to finish. The troubleshooter will automatically detect any potential issues with your network connection and suggest possible solutions.

- Follow the on-screen instructions to apply any recommended fixes.


If the AS-3 error persists, consider restarting your modem or router and disabling any active VPN or proxy servers that you’re using. Using VPNs, in particular, could cause further connection issues with Epic Games.
Disable Windows Firewall
Disabling the Windows Firewall can sometimes help fix the Epic Games AS-3 error, as it might block the connection between your computer and the Epic Games Launcher.
To disable Windows Firewall:
- Right-click the Start menu and select Settings.
- In Settings, go to Privacy & security > Windows Security > Open Windows Security.

- In Windows Security, select Firewall & network protection from the menu on the left.
- On the right, select your active network type (e.g., Private network).

- Click the slider for Microsoft Defender Firewall, switching it to the Off position.

- If prompted, follow any additional on-screen instructions.


To re-enable it, follow the same steps. You’ll need to enable the Microsoft Defender Firewall slider for your active network type instead.
How to Switch to Google DNS
If you’re still experiencing the AS-3 error while using the Epic Games Launcher on Windows, switching to Google DNS might help resolve the issue. Google DNS is known for its reliability and performance—using it instead of your ISP’s DNS servers might establish a stable connection with Epic Games Launcher.
To change DNS settings on Windows 11:
- Right-click the Start menu and select Settings.
- In Settings, click Network & internet on the left.
- In the Network & internet section, click Ethernet or Wi-Fi, depending on your connection type.

- If you choose Wi-Fi, click Hardware properties.

- Scroll down to the IP assignment section and click Edit.

- Change the IP assignment type at the top to Manual.
- Enable the IPv4 toggle and input Google DNS addresses in the IP Address and Alternate DNS fields. Type 8.8.8.8 in the IP Address box.

- Next, type 8.8.4.4 as the Alternate DNS and then click Save.


After completing these steps, your computer will now route DNS requests through Google’s public DNS servers instead of using your ISP’s default DNS. You may need to flush your DNS cache afterward to ensure that your connection (and Epic Games) uses the correct DNS routes.
Playing on Epic Games
The steps above should help you fix the Epic Games AS-3 error on your Windows 11 PC. If you’re still having trouble, however, you may need to consider uninstalling the Epic Games launcher and reinstalling it—this can help reset any configuration issues you’ve been having.


