How to Find Your Intel CPU Generation on Windows 11

Are you thinking about upgrading your Intel CPU? You’ll need to check your current CPU generation (and other specs) first on Windows 11. Here’s how.
The Central Processing Unit (CPU) in your computer is an integral part of the computer. This is the component that does all of the “thinking” and allows everything to run. The more powerful your CPU, the faster your computing experience will be.
The CPU is one of the factors to consider when purchasing a new PC. In addition, you might need its information to determine if a game or app can run. Another reason to know your CPU generation is for troubleshooting reasons.
If you have “Intel Inside,” we’ll show you how to find your Intel CPU generation on Windows 11.
How to Check Your Intel CPU Information on Windows 11
There are a few ways to find your Intel CPU generation on Windows 11 (along with other information). No additional third-party software is required.
To find your Intel CPU information via Settings on Windows 11:
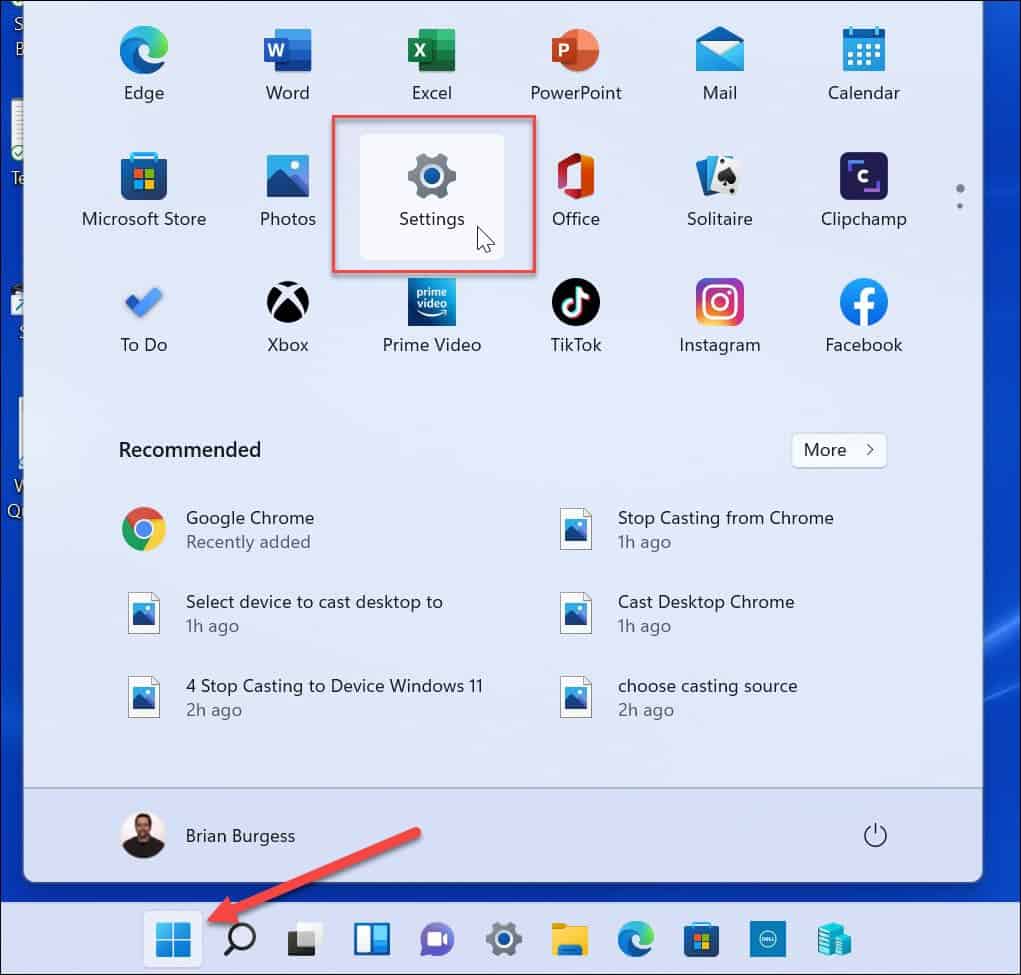
- Open the Start menu.
- When the Start menu opens, click Settings. You can also open Settings directly by pressing Windows key + I.

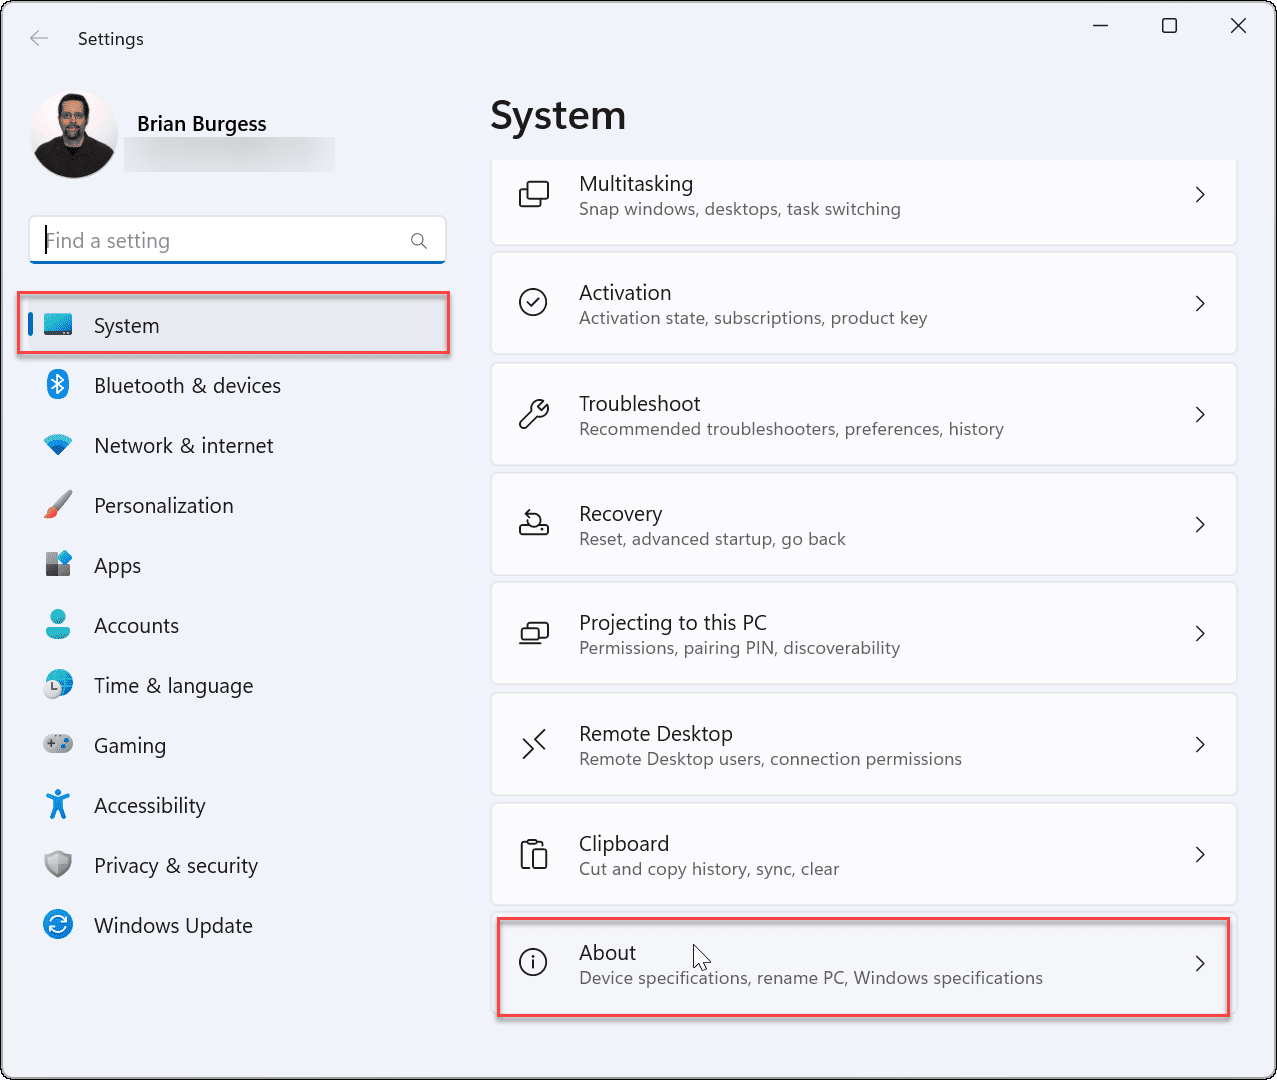
- In Settings, click System and scroll to the bottom.
- Click the About option on the right.

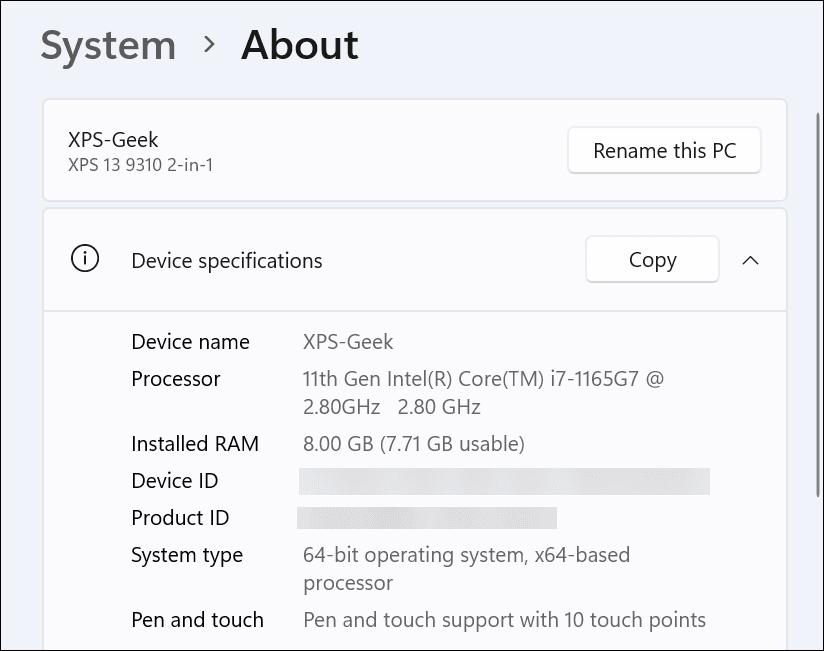
- Expand the Device specifications section—you’ll find your CPU generation next to the Processor entry.

How to Find Your Intel CPU Generation on Windows 11 via Windows Terminal
If you enjoy using the command line to get things done, you can use the PowerShell, Windows Terminal, or the older command prompt to find your Intel CPU generation.
To find your CPU generation via PowerShell or Windows Terminal:
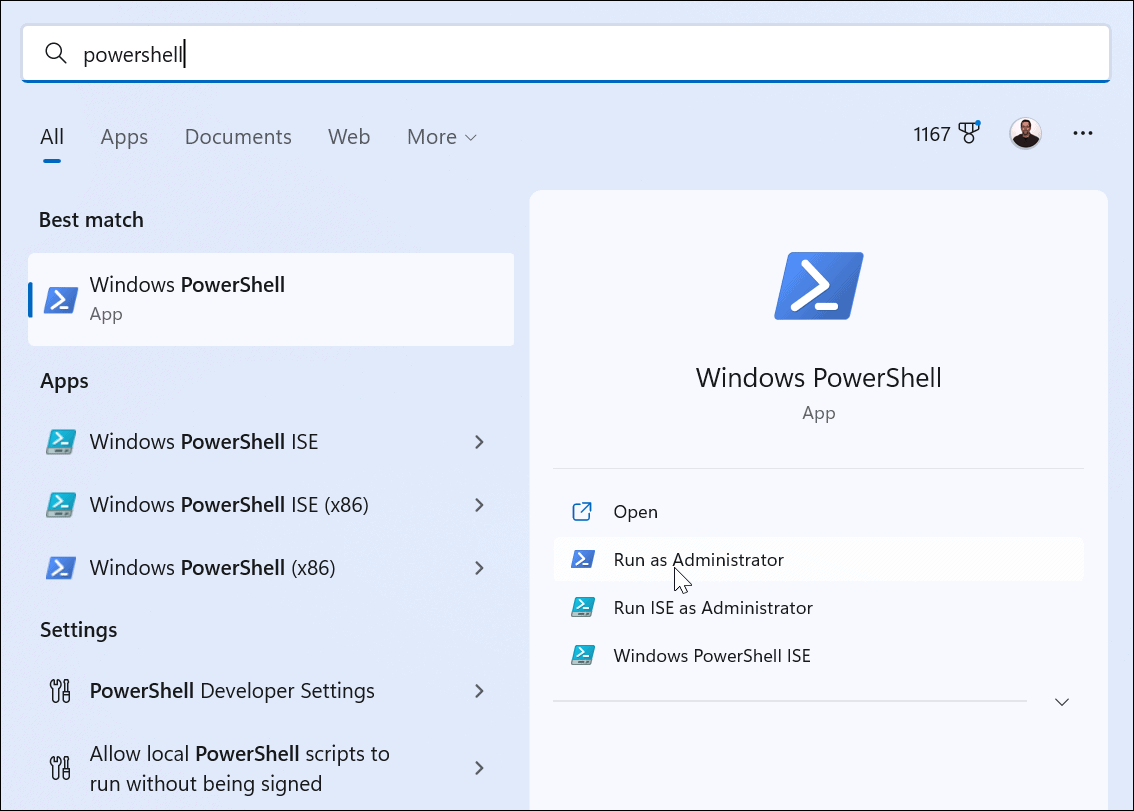
- Open the Start menu.
- Search for PowerShell and click the Run as Administrator option on the right. Alternatively, search for Windows Terminal or cmd.

- Run the following commands in order, which will return with your Intel generation:
wmic
cpu get name


Use Task Manager to Find Your Intel CPU Generation
Another straightforward way to find the generation of your Intel CPU is by using Task Manager.
To find your CPU generation using Task Manager:
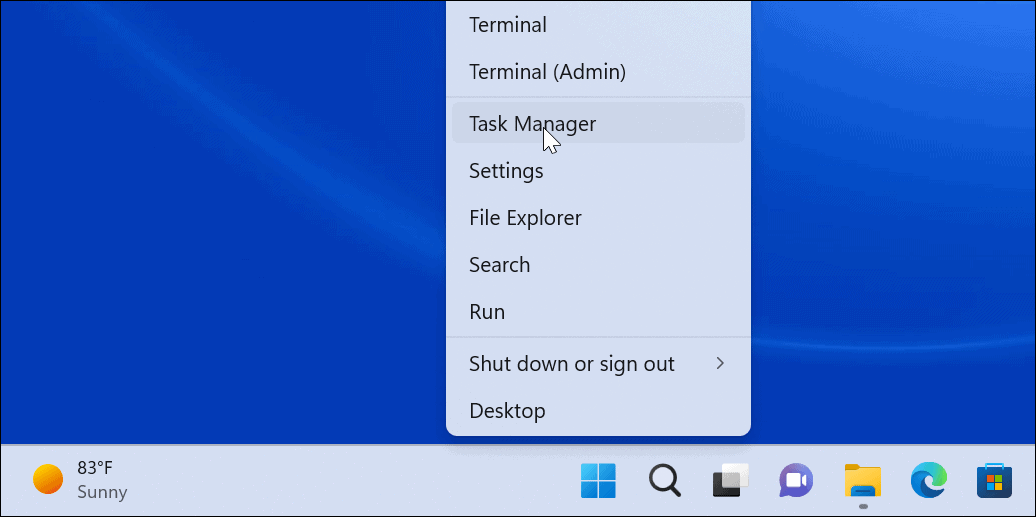
- Right-click the Start button and select Task Manager from the menu.

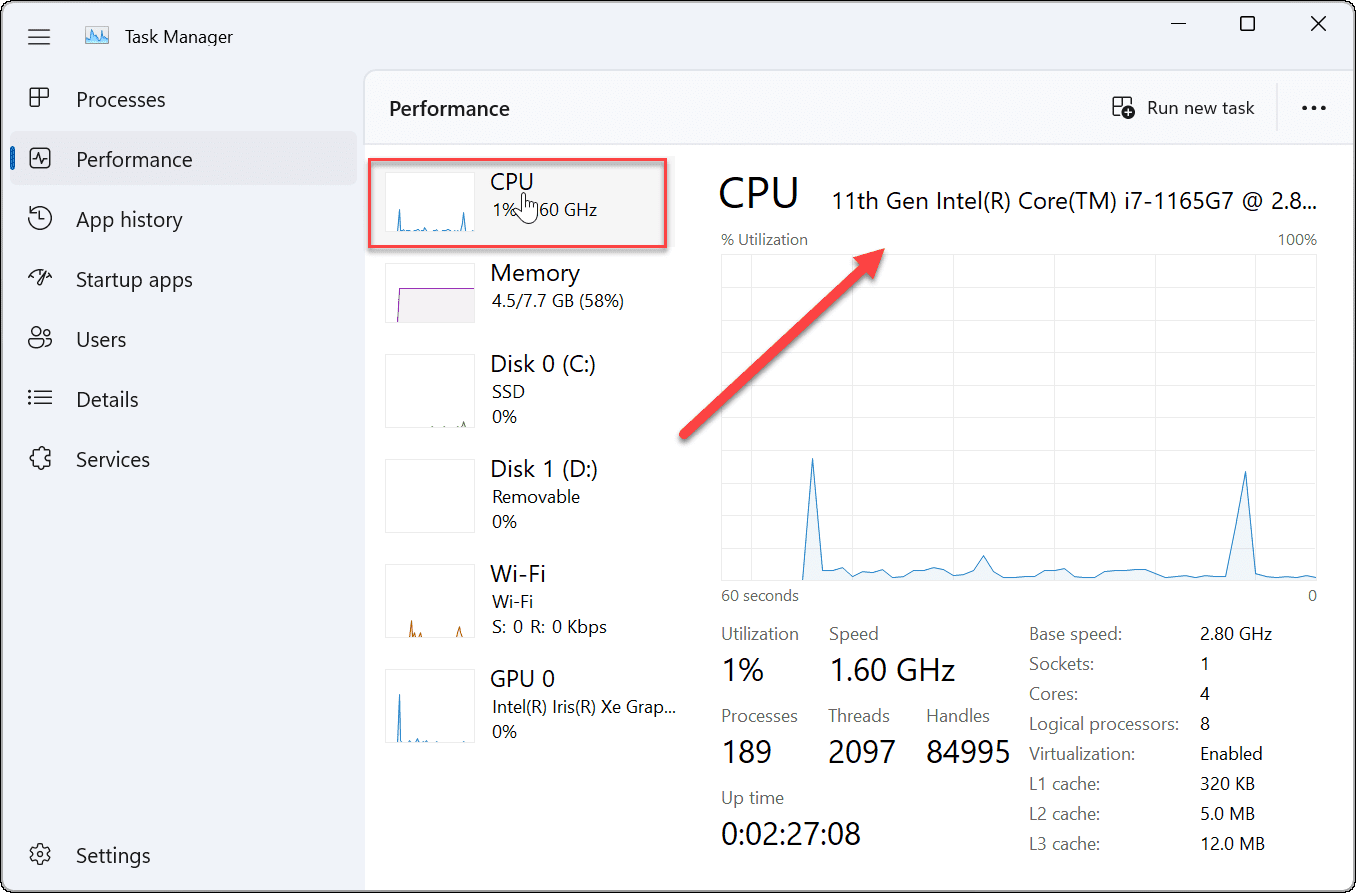
- Once Task Manager is open, select the Performance tab and click CPU from the list on the left.

- You can see your CPU information on the top-right section of the window
Find Your Intel CPU Generation on Windows 11
Is your Intel CPU feeling a little outdated? By using the steps above, you can check your current Intel CPU generation on Windows 11. This can help you to decide which CPU to upgrade to next, as well as troubleshoot CPU-specific issues.
When it comes to your CPU, you don’t want it to run too hot. If you have a heavy workload, check out how to check CPU temperature on Windows 11. You’ll also need to keep an eye on other hardware in your PC. For example, you can easily check Windows 11 PC hardware and system specs.
If you cannot upgrade to a new PC, you may need to learn how to make Windows 11 run faster on old hardware.


beergas
September 9, 2022 at 7:58 am
I use HWiNFO64 Gives Stepping & all that good stuff. Also for other bits.
Bob
December 7, 2023 at 12:20 pm
Sorry, none of the above help; I guess mine is older, before they bragged about the ‘gen’ in the labeling.
Intel(R) Core(TM) i5-7300U CPU @ 2.60GHz 2.70 GHz
In the device mgr properties for the cpu it also says “Family 6, #142”; not really conclusive but whatever.
If someone smarter than me wants to chime in…tnx.