How to Enable Remote Desktop (RDP) On Windows 11

You might need to remotely connect to another Windows computer for troubleshooting or to retrieve files. Here’s how to enable Remote Desktop (RDP) on Windows 11.
Remote Desktop Protocol (RDP) is a feature Microsoft has included in Windows since the XP days. It allows you to connect from a PC to other PCs to troubleshoot, retrieve files, and more. And using Remote Desktop with Windows 11 is like RDP with Windows 10. There are a few different ways you can enable RDP on Windows 11, and we’ll take a look at a couple of ways to do it.
Enable Remote Desktop on Windows 11
Note: Other remote connection apps could be handy in different scenarios for other devices. Some that come to mind are Join.me, TeamViewer, Chrome Remote Desktop, and others.
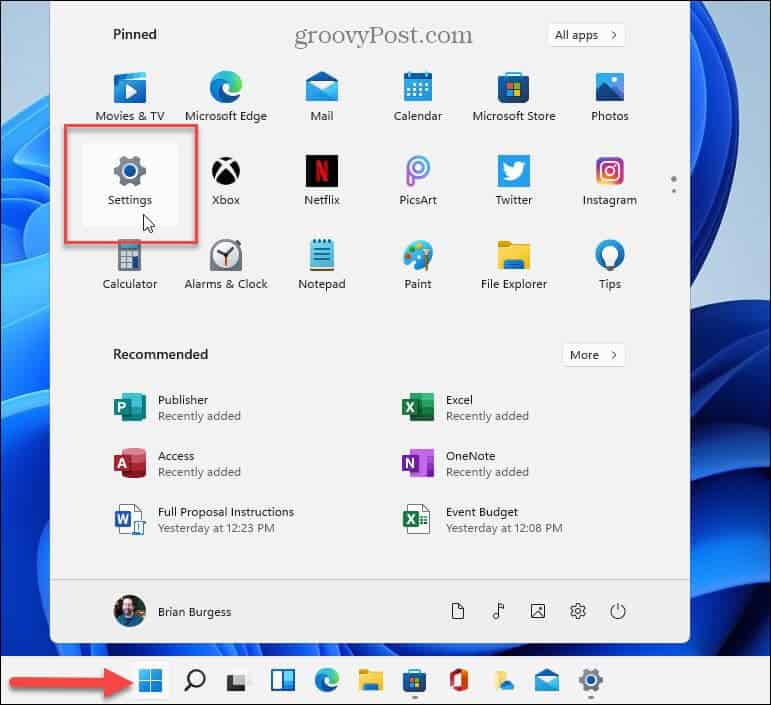
To enable RDP on Windows 11, click the Start button and then click the Settings icon. Alternately, you can use the keyboard shortcut Windows key + I to open Settings directly.
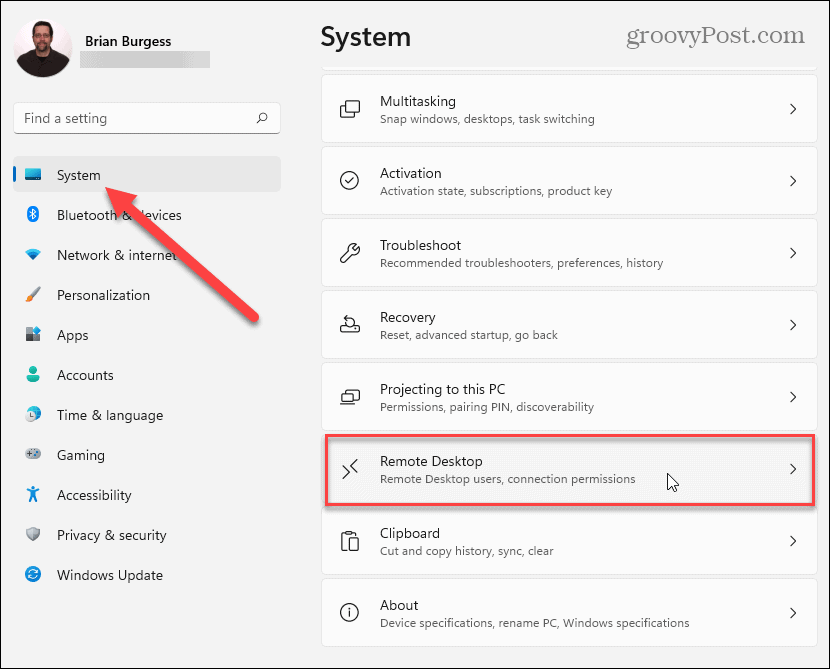
When Settings opens, click on System at the top of the list on the left panel. Then scroll down and click the Remote Desktop option.
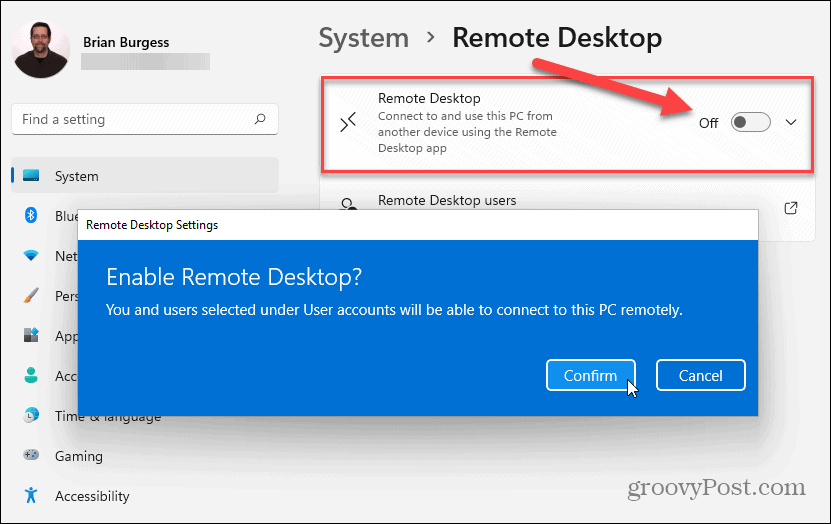
On the next screen, turn on the Remote Desktop button. Then you will need to confirm you want to enable it. Click the Confirm button on the dialog message that pops up.
Once Remote Desktop is enabled, you can connect remote into other Windows machines with RDP enabled. Keep in mind that you can remote to and from PCs with older versions of Windows installed like Windows 8.1, Windows 7, and even XP – all of which are officially unsupported by Microsoft for consumers.
However, it is worth noting that for Windows 10 and 11, you want to leave “Require devices to use Network Level Authentication to connect” enabled for best security practices. If you plan to remote from an older version like XP or Vista, you’ll need to uncheck it.
Enable Remote Desktop Through System Properties
Another way to enable RDP on Windows 11 is to use the keyboard shortcut Windows key + R and type: SystemPropertiesAdvanced and click OK or hit Enter.

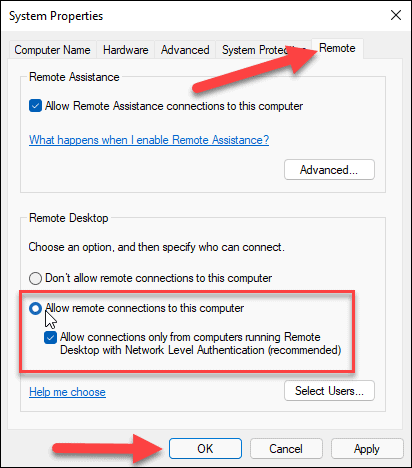
That opens the System Properties window. Click the Remote tab at the top. Under the “Remote Desktop” section, select “Allow remote connections to this computer.” Leave “Allow connections only from computers running Remote Desktop with Network Level Authentication” checked (unless connecting from Vista or XP) and click OK.
Now you are set up to allow incoming remote connections to your Windows 11 computer and vice versa. And for more on Microsoft’s new operating system, take a look at doing a clean installation. Or check out new features like Widgets, Teams Chat, and the new Windows Snap Layouts feature.


