How to Delete Stored Email Accounts on Windows 11

When you no longer need an account on your Windows 11 system you can delete stored email accounts. Here’s how to remove them.
If you use Outlook or another email client on Windows 11, the system saves your account and password even if you remove it from the app. However, if you want this data to be removed, you can delete stored email accounts on Windows 11.
The system saves your credentials to make accessing messages and other items easier if you set the app up again. But if you no longer need an account, you might want to remove it for privacy and security reasons.
We’ll show you how to delete your stored email accounts from your Windows 11 PC and secure some peace of mind below.
How to Delete Stored Email Accounts on Windows 11
If you want to remove email account credentials that you no longer need, the process is straightforward using the Settings app.
To remove stored email accounts on Windows 11:
- Press the Windows key + I to open the Settings app.
- Click Accounts from the left panel and click the Email & accounts option on the right.

- Expand the account to remove under the Accounts used by email, calendar and contacts section.
- Click the Manage button.

- Select the Delete account from this device option when the Account settings window appears.

- Click the Delete button when the verification message appears.

- Under the Accounts used by other apps section, expand the account you want to delete and click the Remove button.
- Click the Yes button when the verification message appears.


Once you complete the steps, the email account data will be deleted from your system. You will need to re-add the credentials if required in the future.
How to Delete Stored Email Accounts Using the Registry
If you are an advanced user, you might prefer to exercise more control over the process and remove stored email accounts using the Registry.
This option requires that you modify the Registry which must be done carefully. Editing the wrong key or deleting an incorrect value can cause your system to become unstable or unusable. Before proceeding, make sure you back up the Registry and create a Restore Point so you can restore your system if something goes awry.
To remove email accounts using the Registry:
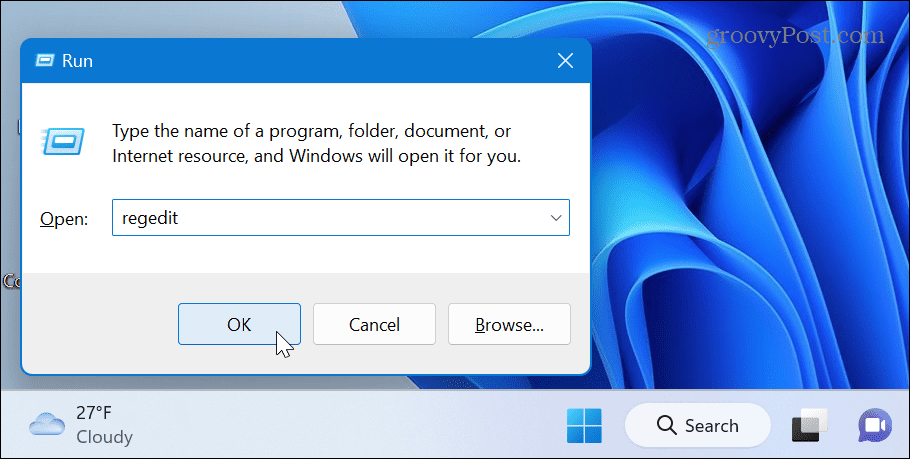
- Press Windows key + R to launch the Run dialog window.
- Type regedit and click OK or press Enter.

- Navigate to the following path:
HKEY_USERS\.DEFAULT\Software\Microsoft\IdentityCRL\StoredIdentities

- Expand the StoredIdentities folder, right-click the account you want to remove, and click Delete from the menu that appears.

- Once the account is removed, close out of Registry Editor, and restart your PC to apply the changes.


Managing Your Accounts on Windows 11
If you want to remove unwanted email account data from your Windows 11 system, the steps above will allow you to do just that. Keep in mind that once the account is removed, you’ll need to reenter the data if you need to add the email account.
In addition to adding and removing email accounts, you might need to manage other user accounts. For example, check out how to add a user account to Windows 11, or if you don’t want to use a Microsoft account, you can add a local user account to your system.
Windows 11 offers a straightforward way to determine user account types if you have multiple users on the same PC. And if you no longer want or need an account on the system, you can delete a user account.


