How to Delete Empty Rows in Google Sheets

Cleaning up data in a large spreadsheet is often part of the job. In Google Sheets, you can quickly seek out and delete empty rows by following this guide.
Google Sheets might not have the same level of features as Excel, but it still packs a punch—and it can handle any large spreadsheet you throw at it.
When you’re working with a lot of data, you’re going to encounter gaps. You don’t need to manually find each empty row in your spreadsheet—there’s a better way to do it.
If you want to know how to delete empty rows in Google Sheets, follow the steps below.
How to Delete a Single Empty Row in Google Sheets
If you only have one or two empty rows to delete in Google Sheets, it’s quicker to delete each one manually.
To delete an empty row in Google Sheets:
- Right-click on the row number of the empty row you want to delete.

- Click on Delete Row.

- Your empty row is deleted.


How to Delete Empty Rows in Google Sheets Using Sort
If you have multiple empty rows that you want to delete, getting rid of them one at a time isn’t ideal. There are a couple of ways you can speed up the process.
To delete empty rows in Google Sheets using Sort:
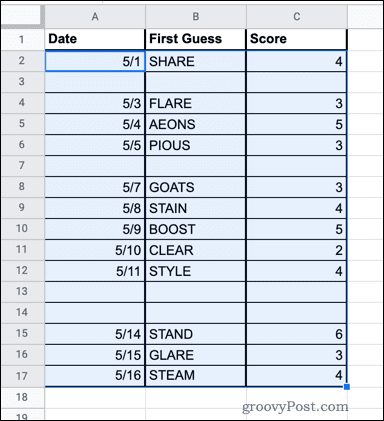
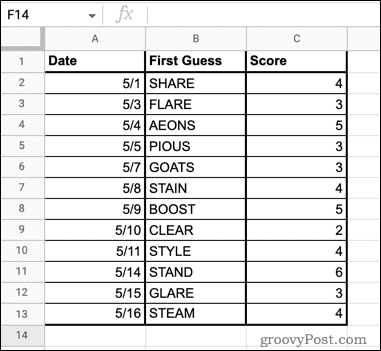
- Highlight the cells containing all of your data. Don’t include any column headings.

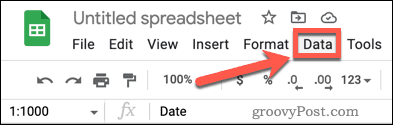
- Click on Data.

- Hover over Sort Range and then click Sort Range by Column A (A to Z). The column name may be different if your data doesn’t start in column A.

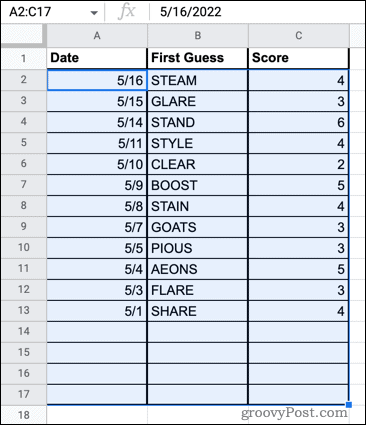
- Your data will sort, moving the empty rows to the bottom.

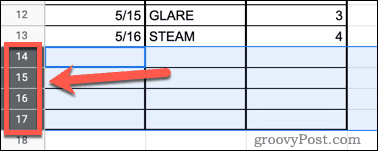
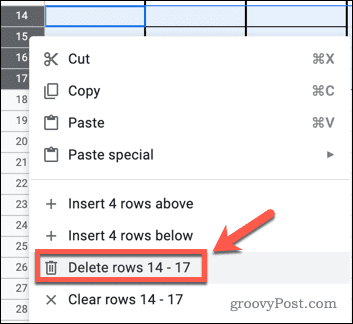
- Drag over the row numbers of the empty rows.

- Right-click on any of the selected rows and click on the Delete Rows options.

- Your empty rows are now deleted.


How to Delete Empty Rows in Google Sheets Using a Filter
An alternative method for achieving the same result is to use a filter to show only the empty rows. You can then select and delete these rows.
To delete empty rows in Google Sheets using a filter:
- Click in the space in the top-left corner of the entire sheet (or press Ctrl+A on Windows or Cmd+A on Mac) to select all cells in your sheet.
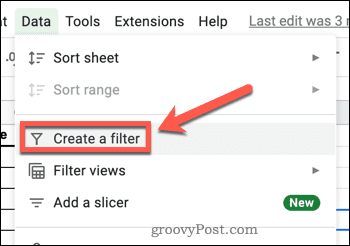
- Press Data.
- Press Create a Filter.

- Click on one of the Filter icons at the top of each column.

- Press the Clear button to remove all filters.

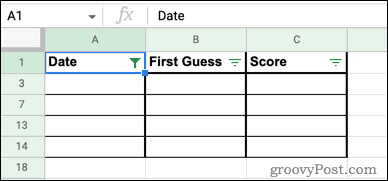
- Press Blanks to select only blank rows then click OK to confirm.

- Your table will now only show the blank rows.

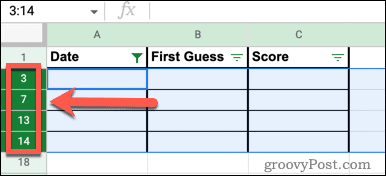
- Drag over the row numbers to select all of the blank rows.

- Right-click on any of the selected row numbers and click Delete Selected Rows.

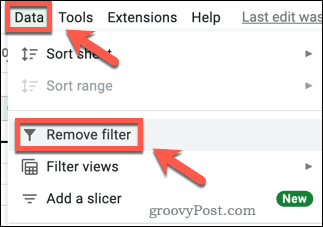
- Click on Data > Remove Filter to turn off filtering.

- Your empty rows are now gone.


Cleaning Up a Google Sheets Spreadsheet
Knowing how to delete empty rows in Google Sheets allows you to clean up your data and make it more presentable. There are other tricks you can learn to make your Google Sheets data look better.
For example, it’s possible to wrap text in Google Sheets if the text is too long for your table. You can also create dropdown lists in Google Sheets to ensure that all entered data is in the same format.
If you want to alphabetize your Google Sheets data to keep it orderly, you can do that too.


