Use Snagit to Blur Out Text Content of a Screenshot

When taking a lot of screenshots you’re bound to run into the need to hide sensitive personal information from time to time. Snagit’s built-in blur function can handle this with ease.
I recently received an email from a reader asking how we blur text in our screenshots (example: Gmail multiple inbox tutorial.) The majority of the screenshots on groovyPost are taken with an application called Snagit, available for Windows and Mac. Snagit is one of my favorite tools because of its flexibility and feature set. You can do almost anything with it, including hiding, blurring, or redacting text in screenshots. The only downside, it’s not free. That said, I believe you get what you pay for, and in this case, I have no issue dropping a few bucks to buy an amazing tool.
Why blur the text?
Note: This article was written using an older version of SnagIt Editor, but the software still has the Blur function.
Put simply, blurring out text is better than the alternative – redaction. Blur also doesn’t draw attention away from the important part of a screenshot. Take a look at the two examples below. We redacted the text to mask sensitive data; on the right, I used a blur filter. Since we’re probably not running an intelligence agency, blacking out sections of a screenshot with a big black box doesn’t look attractive. The same can be said for YouTube videos, but adding blur to videos requires an entirely different program.


Blur/Redact Text
To start, you need to have a screenshot that has text you want to blur out. Maybe it’s personal information you don’t want to share with the world. As an example, I’ve pulled an Amazon order confirmation we’re going to block out the address from.
Note: The below screenshot is small on purpose because it’s just an example of a possible screenshot choice; it’s not important.

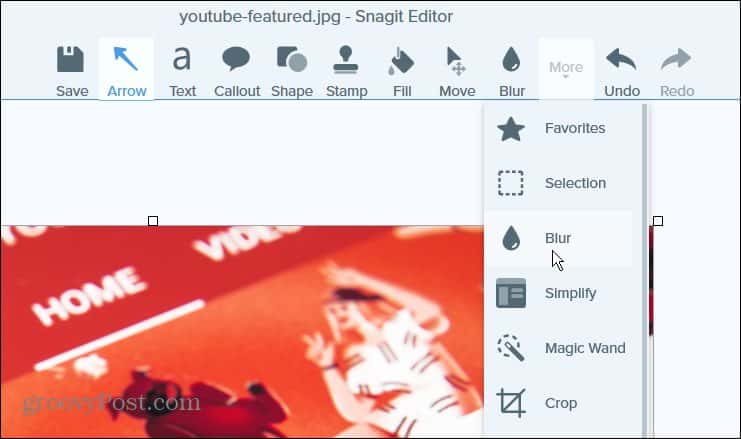
Now that we have a screenshot to work with, you can decide if you want to blur using the Smooth filter or the Pixelate feature from the Tools tab. Both work equally well; it just depends on the look you’re after. Keeping things simple, I’m going to click the down arrow and use a smooth filter with a 25% intensity.

Snagit V12.4.1 for Windows
Now draw a box around the area of the screenshot that you want to blur out.

The default for both Smooth and Pixelate Blur is 25%. You can play with the intensity level by clicking on the region you selected and hitting the down arrow on the toolbar, as shown above. The default setting is normally enough to render the text unreadable but still discernable at one point. See below for examples of the various levels of blur intensity.
To compare blur levels, I compiled this shot below. As you know, even 10% is almost enough to render the blur unreadable. However, if you want to make sure people don’t decipher any sensitive data, you’ll need to apply at least 20%. Anything over 50% is overkill.

Below is the end product of the screenshot after I’ve applied a blur to hide the shipping address and cropped out the sides. How does it look?

That covers adding blur to screenshots in Snagit. If you decide to buy a copy, please use this link to buy a copy of Snagit version 2021. Although the price will be the same for you, I will get a few bucks for the referral. Think of it as a tip for all this amazing information you just got for free.


Mechman
October 11, 2013 at 6:17 am
Love this programme, I use it regularly and is worth every penny!
chris
October 11, 2013 at 7:11 am
Does it work only on text?
Steve Krause
October 11, 2013 at 9:53 am
Nope, you can use the blur to work on any part of the image. I use this all the time when writing tutorials or even in screenshots I drop in emails at work. Love Snagit!
Brian Burgess
October 15, 2013 at 2:19 am
Yes indeed, Snagit is a great program for easily editing screenshots and what not. It doesn’t have all of the features as a Photoshop or GIMP, but if you need a light image editing program, it’s a winner.
Ziggy
July 18, 2016 at 9:20 pm
Any similar free products? Free Screenshot Capture! Others? Let us know…
goodman
March 22, 2020 at 8:15 pm
thanks for guide