How to Add a Border in Google Docs

If you want to make your Google Docs document look a little more appealing, you could add a border to your pages. This guide will show you how.
If you’re writing a document in Google Docs, you’ll see the same thing—a white, blank page. Unless you’re starting with a template or a blank sheet, your document has no personality, nothing to show that it’s written by you.
You can change that, however. There are plenty of options to customize your document to make it stand out more, from changing the font size and color to adding a border. Borders make the page stand out, giving the document its own identity and style.
There are a couple of ways you can add a border in Google Docs. If you’re unsure how, you can follow our guide below.
Using a Background Image to Add a Border in Google Docs
One of the easiest ways to add a border in Google Docs is to use a background image. You can insert an image into your document, send it to the back below your text, and use it as a way to show a border around the edges of your pages.
This can allow you to add more complex borders, but you’ll need to source a background image containing a border yourself (and have permission to use it). You can also create your own first using an image editing tool.
To add a border background image to Google Docs:
- Open your Google Docs document.
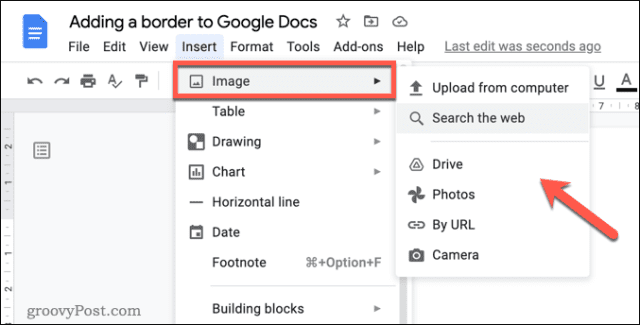
- From the menu, press Insert > Image and select one of the options to locate your image to upload.

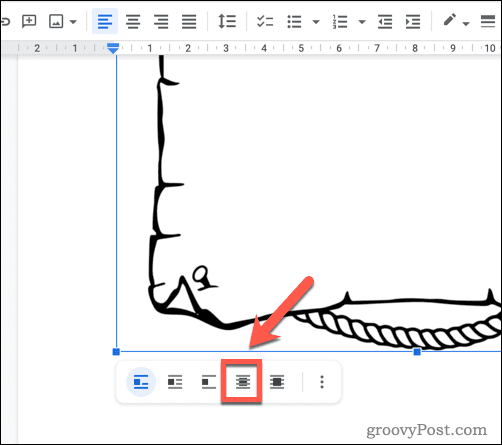
- Once you’ve inserted the image, select it, then press the Behind text icon in the pop-up menu bar.

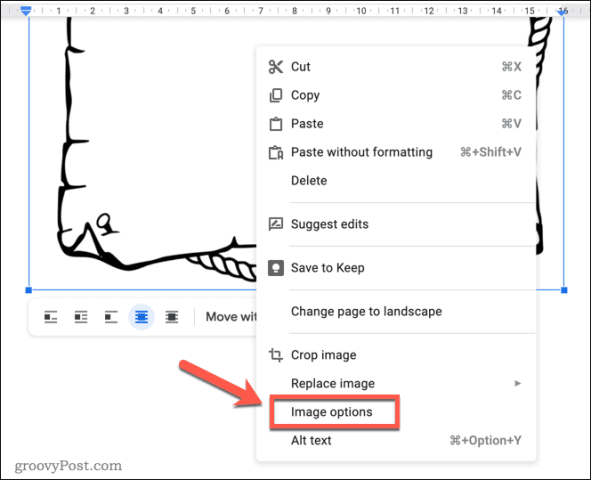
- Resize the image to fill your document page. If you have trouble doing this, right-click the image and select Image options

- In the Image options sidebar, select the Position category and select Fix position on page.
- Set the X and Y values below at 0. This will ensure your image is placed in the top-left corner, allowing you to resize it to fill the page. You may want to adjust these values if you want the image to appear within your print margins for printing.

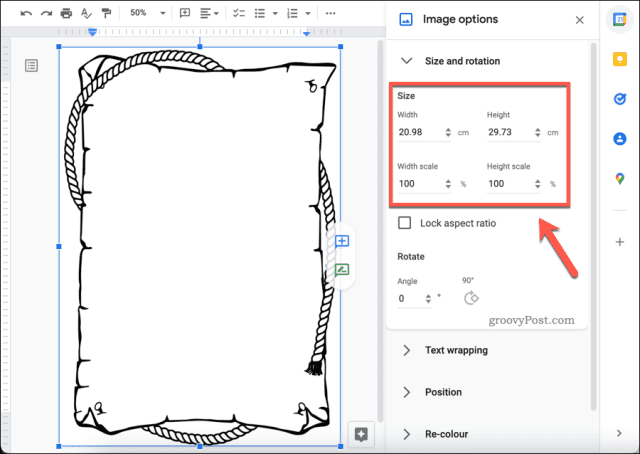
- If you want to resize the image, open the Size and rotation category and make changes to the sizing there, or alter the size of the image yourself using the icons that surround the image.


Using Google Drawings to Add a Border in Google Docs
Don’t have a border image to use? You can create your own using Google Docs’ own built-in drawing tool. Google Drawings allows you to create a simple border image that you can insert, resize, and position as a border using the steps above.
To add a border in Google Docs using Google Drawings:
- Open your document in Google Docs.
- Press Insert > Drawing > New.

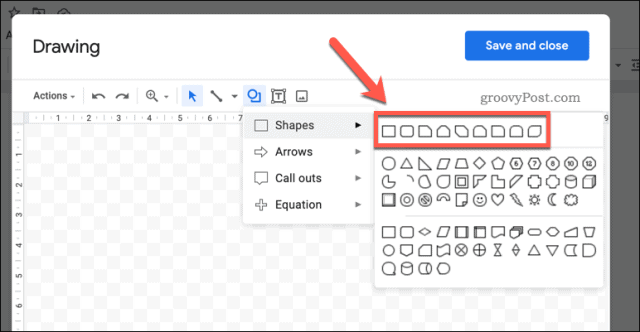
- In the Drawing window, you can design your table. For instance, to create a simple border, insert a shape by pressing Shapes > Shapes and choosing a suitable shape (eg. a square or rounded rectangle).

- If you insert a shape, change the color (and background) by selecting it and using the fill color, border color, border weight, and border dash tools.

- Otherwise, insert an image you can reuse as a border by pressing the Image icon and uploading it to your drawing.

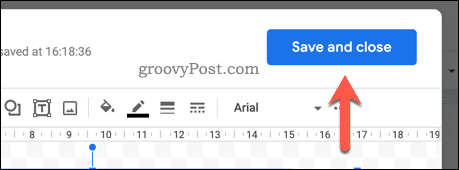
- Resize and make further changes to your drawing as appropriate, then press Save and close.
- You’ll need to resize your drawing using your mouse—select your image and use the on-screen resize tools to do so.
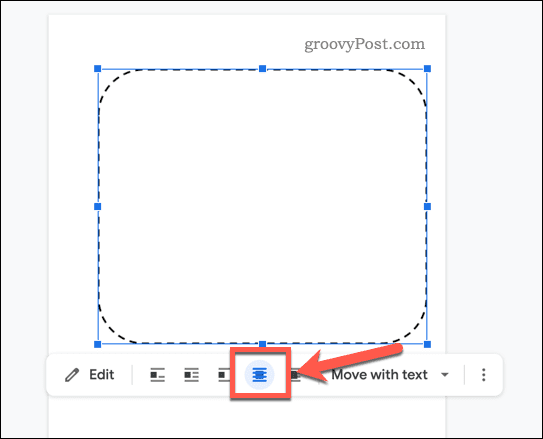
- To move the image to the background, select the image first.
- Next, press the Behind Text icon in the pop-up menu at the bottom.

- If you need to make further changes to the size and position of the image, right-click it and select Image options and use the side menu.


How to Add a Google Docs Border Using a Table Grid
If you want to add a much simpler border around your text, you could use a one-cell table to do this. This will fill the page to the page margins.
To add a Google Docs border using a table:
- Open your Google Docs document.
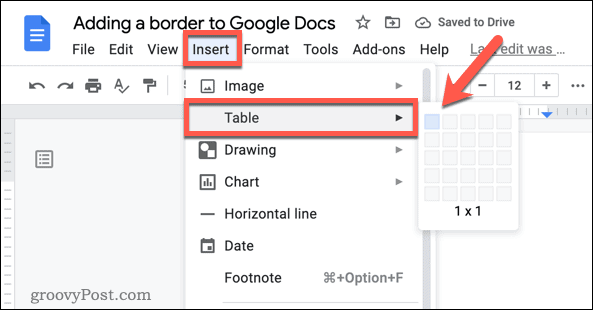
- Insert a new table by pressing Insert > Table and choosing a 1×1 grid.

- With the table cell inserted, resize your table by hovering over the borders and dragging it to the correct position.
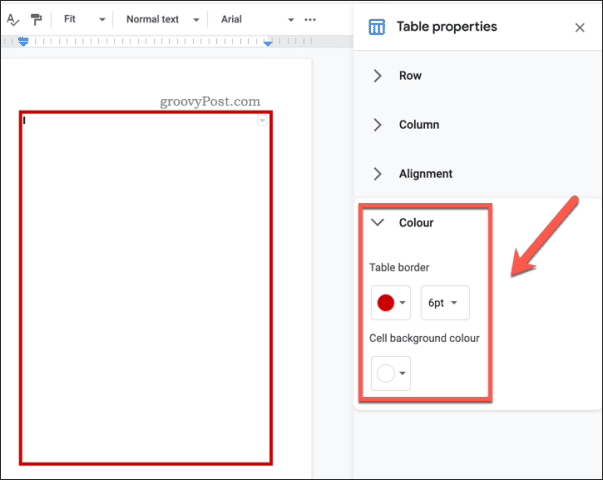
- To alter the border color or width, right-click the border and select Table properties.

- In the Table properties menu, open the Color category.
- Select a new border color and width using the Table border options. The changes will apply automatically.


Formatting Your Document in Google Docs
If you follow one of the steps above, you should be able to add a border in Google Docs. It could be a simple lined border, or a custom-made border using a background image—the choice is yours.
There are other things you can do to format your document. For example, you may want to add a text box to a document, allowing you to separate sections of text from the body. You could also decide to add block quotes or, if you want to create a newsletter, you may want to add two columns to your Google Docs document.


